好的,接下来我将描述两种最简单的方法来完成它:
1. ASP.NET WebApi
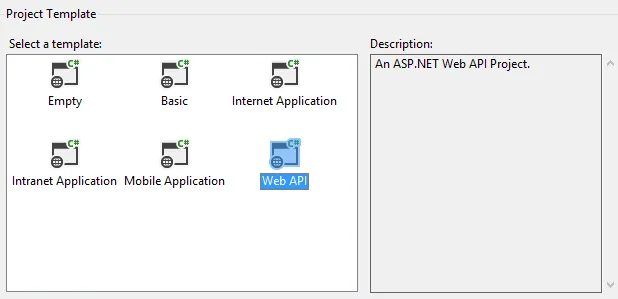
您需要创建一个新的ASP.NET MVC4项目(无论是发布版还是RC版本),选择“WebApi”作为选项:
然后您就会有模板准备好了。现在右键单击“Controllers”文件夹,然后
添加 -> 控制器:
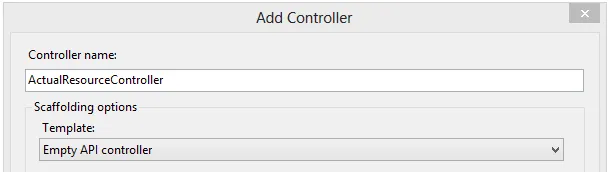
然后填写如下内容:
public class ActualResourceController : ApiController
{
    public string Get()
    {
        return "Hey there! Getting the resource...";
    }
}
默认路由在Global.asax文件中,当你查看
WebApiConfig.Register(...)方法的定义时,你会发现默认路由是
host/api/controller。
让我们尝试一下,当你启动项目并进入(在我的情况下,端口由开发服务器自动选择)
http://localhost:23030/api/ActualResource,
你会得到:
<string>Hey there! Getting the resource...</string>
WebApi会根据Accept头返回JSON或XML,如果你想让JSON成为唯一的/默认的,可以参考这个链接。
当然,你也可以创建一个类并返回它,它将以与ServiceStack类似的方式序列化为XML/JSON。
2. ServiceStack
现在ServiceStack是一个强大的、开源的REST Web服务框架。它和WebApi有一些不同之处,这里是一个快速介绍(尽管文档很好):
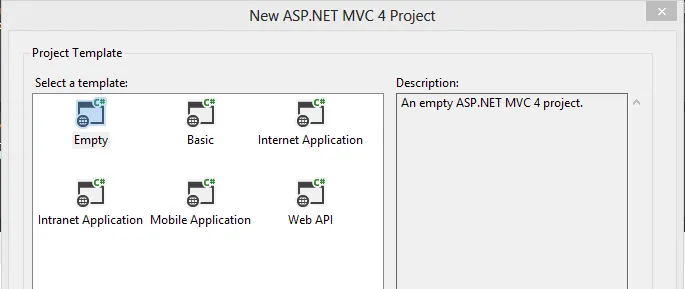
创建常规的ASP.NET MVC项目(在我的情况下,是MVC4)- 你将拥有一个空模板:
请打开程序包管理器控制台,输入以下命令(如文档所示):
Install-Package ServiceStack.Host.Mvc,这将为您提供一个ServiceStack项目模板和教程应用程序等内容,如果您希望,稍后可以将其删除。
但首先,ServiceStack基于DTOs,即请求-响应对象。因此,我们需要创建它们,
ActualResource类将用作请求,
ActualResourceResponse将用作响应。由于请求中没有参数,因此第一个请求很简单:
public class ActualResource
{
}
任何参数都将成为自动属性。现在是回应:
public class ActualResourceResponse
{
    public string ResourceName { get; set; }
}
而服务类本身:
public class ActualResourceService : Service
{
    public object Get(ActualResource request)
    {
        return new ActualResourceResponse {
           ResourceName = "Hi! It's the resource name." };
    }
}
当然,为了您当前的目的,您可以返回裸的string,它仍然可以工作。
现在,在模板ServiceStack创建的过程中,所有事情都发生在AppHost.cs文件中,让我们看一下并稍微修改一下:
Routes
    .Add<Hello>("/hello")
    .Add<Hello>("/hello/{Name*}")
    .Add<Todo>("/todos")
    .Add<Todo>("/todos/{Id}") //everything up to here are a template/tutorial routes, you can safely remove them
    .Add<ActualResource>("/actualResource"); //and here you add a route to your own service
要使其工作,您必须转到 Global.asax 并注释掉整个
WebApiConfig.Register(GlobalConfiguration.Configuration) 行,然后进入
RouteConfig.RegisterRoutes 方法并添加:
routes.IgnoreRoute("{resource}.axd/{*pathInfo}");
routes.IgnoreRoute("api/{*pathInfo}");
routes.MapRoute(
name: "Default",
url: "{controller}/{action}/{id}",
defaults: new { controller = "Home", action = "Index", id = UrlParameter.Optional }
);
需要进行一些管道工作,但还不错。
现在当您启动服务时,请进入localhost:whateverport/api/actualResource,您将获得熟悉的字符串,并附有屏幕截图:

ServiceStack可以序列化为各种格式,因此如果您进入http://localhost:yourPort/api/actualResource?format=json,您将获得:
{"resourceName":"Hi! It's the resource name."}
如果
?format=xml,那么:
<ActualResourceResponse>
    <ResourceName>Hi! It's the resource name.</ResourceName>
</ActualResourceResponse>
现在,ServiceStack的设置有点更加复杂,但它支持Memcache,你可以使用Redis,你可以使用各种认证提供者,这些在某些情况下可能非常有用。但是,就像本·吉恩叔叔曾经说过的那样,“强大的力量伴随着巨大的责任”,所以安装阶段会稍微困难一些...
等等...
现在你可以选择任何一种你感觉合适的,这两个选项目前来说是最简单的。当然,这只是一个简单的教程,让你入门,当你开始项目时,你将有机会深入探索这个主题。