使用Swift 5.1和iOS 13.1,您可以使用下面的UIButton子类实现来解决问题:
import UIKit

class CustomButton: UIButton {

    required init(title: String, subtitle: String) {
        super.init(frame: CGRect.zero)

        let style = NSMutableParagraphStyle()
        style.alignment = NSTextAlignment.center
        style.lineBreakMode = NSLineBreakMode.byWordWrapping

        let titleAttributes: [NSAttributedString.Key : Any] = [
            NSAttributedString.Key.foregroundColor: UIColor.label,
            NSAttributedString.Key.underlineStyle : NSUnderlineStyle.single.rawValue,
            NSAttributedString.Key.font : UIFont.preferredFont(forTextStyle: UIFont.TextStyle.largeTitle),
            NSAttributedString.Key.paragraphStyle : style
        ]
        let subtitleAttributes = [
            NSAttributedString.Key.foregroundColor: UIColor.label,
            NSAttributedString.Key.font : UIFont.preferredFont(forTextStyle: UIFont.TextStyle.body),
            NSAttributedString.Key.paragraphStyle : style
        ]

        let attributedString = NSMutableAttributedString(string: title, attributes: titleAttributes)
        attributedString.append(NSAttributedString(string: "\n"))
        attributedString.append(NSAttributedString(string: subtitle, attributes: subtitleAttributes))

        setAttributedTitle(attributedString, for: UIControl.State.normal)
        titleLabel?.numberOfLines = 0
        titleLabel?.lineBreakMode = NSLineBreakMode.byWordWrapping
    }

    required init?(coder aDecoder: NSCoder) {
        fatalError("init(coder:) has not been implemented")
    }

}
使用方法:
import UIKit

class ViewController: UIViewController {

    override func viewDidLoad() {
        super.viewDidLoad()

        let button = CustomButton(title: "Title", subtitle: "Subtitle")
        button.translatesAutoresizingMaskIntoConstraints = false
        view.addSubview(button)

        let horizontalConstraint = button.centerXAnchor.constraint(equalTo: view.centerXAnchor)
        let verticalConstraint = button.centerYAnchor.constraint(equalTo: view.centerYAnchor)
        NSLayoutConstraint.activate([horizontalConstraint, verticalConstraint])
    }

}
如果你真的需要一个类型为system的按钮,可以使用以下代码作为替代:
import UIKit

extension UIButton {

    static func customSystemButton(title: String, subtitle: String) -> UIButton {
        let style = NSMutableParagraphStyle()
        style.alignment = NSTextAlignment.center
        style.lineBreakMode = NSLineBreakMode.byWordWrapping

        let titleAttributes: [NSAttributedString.Key : Any] = [
            NSAttributedString.Key.underlineStyle : NSUnderlineStyle.single.rawValue,
            NSAttributedString.Key.font : UIFont.preferredFont(forTextStyle: UIFont.TextStyle.largeTitle),
            NSAttributedString.Key.paragraphStyle : style
        ]
        let subtitleAttributes = [
            NSAttributedString.Key.font : UIFont.preferredFont(forTextStyle: UIFont.TextStyle.body),
            NSAttributedString.Key.paragraphStyle : style
        ]

        let attributedString = NSMutableAttributedString(string: title, attributes: titleAttributes)
        attributedString.append(NSAttributedString(string: "\n"))
        attributedString.append(NSAttributedString(string: subtitle, attributes: subtitleAttributes))

        let button = UIButton(type: UIButton.ButtonType.system)
        button.setAttributedTitle(attributedString, for: UIControl.State.normal)
        button.titleLabel?.numberOfLines = 0
        button.titleLabel?.lineBreakMode = NSLineBreakMode.byWordWrapping

        return button
    }

}
使用方法:
import UIKit

class ViewController: UIViewController {

    override func viewDidLoad() {
        super.viewDidLoad()

        let button = UIButton.customSystemButton(title: "Title", subtitle: "Subtitle")
        button.translatesAutoresizingMaskIntoConstraints = false
        view.addSubview(button)

        let horizontalConstraint = button.centerXAnchor.constraint(equalTo: view.centerXAnchor)
        let verticalConstraint = button.centerYAnchor.constraint(equalTo: view.centerYAnchor)
        NSLayoutConstraint.activate([horizontalConstraint, verticalConstraint])
    }

}
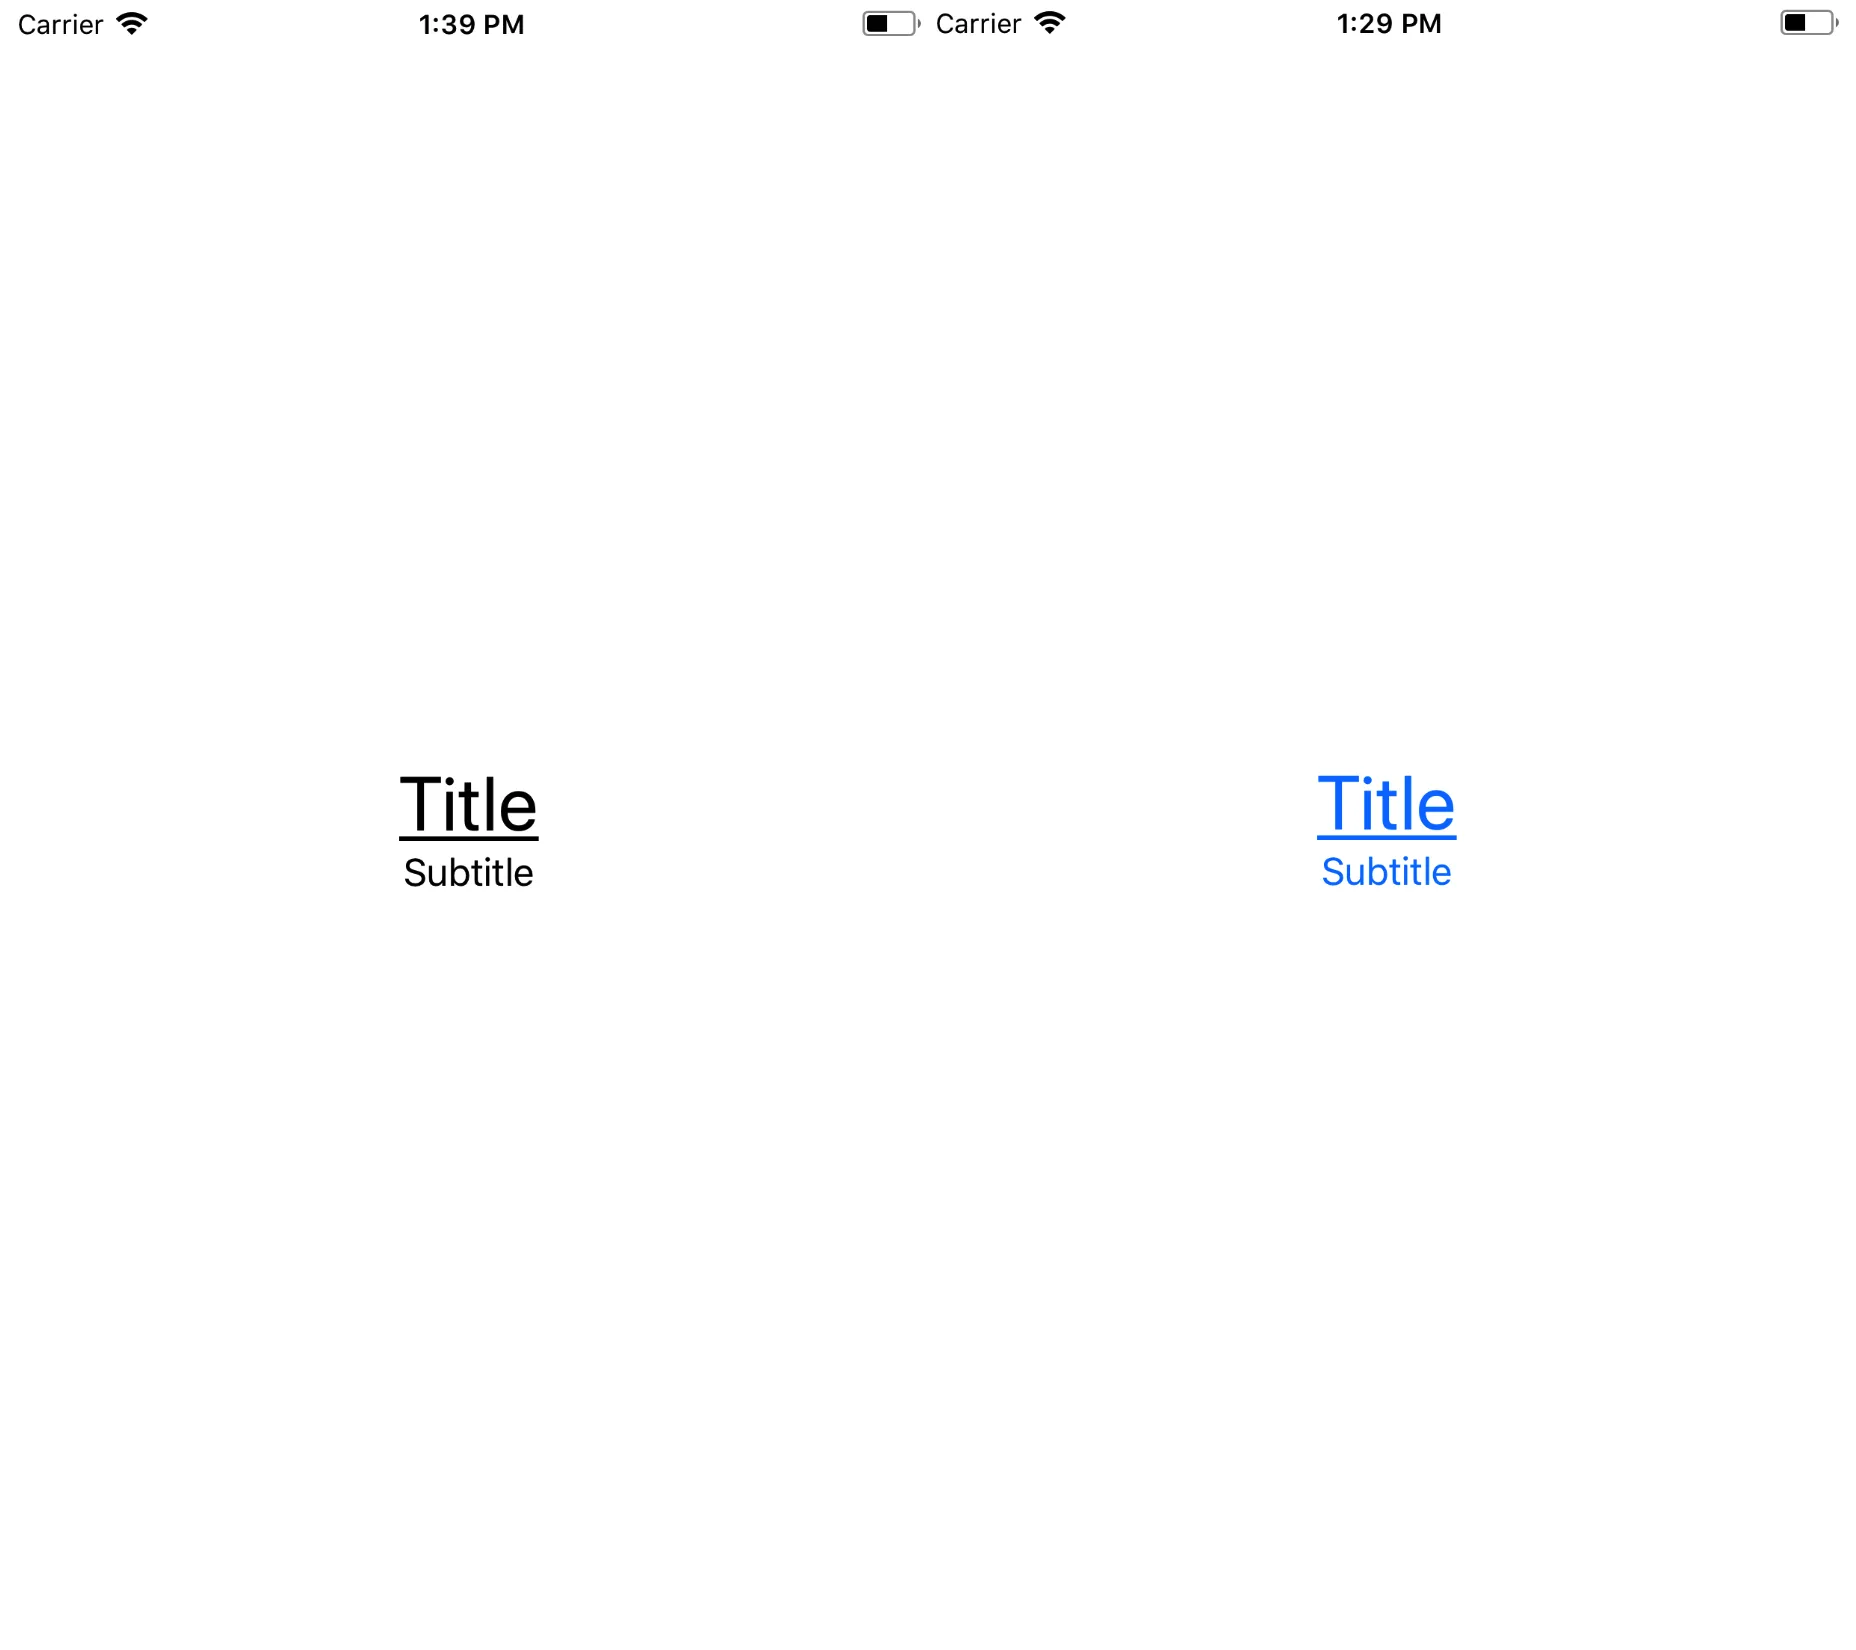
下面展示了
UIButton子类(左侧)和
system类型按钮(右侧)的结果显示屏幕截图:
 这是Swift 3.0中的代码。
titleLabel不应该是UILabel吗?我猜我可以这样做,但我仍然觉得这比必要的更大。 - mbm29414UILabel上实现它,但在UIButton上却似乎无法正常工作。奇怪。去看看你的想法是否可行。 - mbm29414