我需要创建一个EditText,当用户添加新字符时,它将替换下划线。类似于这样: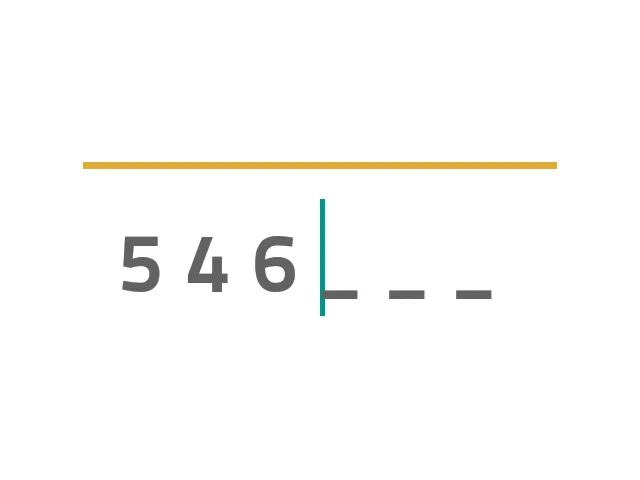 我已经做了类似的东西,使用了6个EditText(所需字符串的大小)和一个'_'字符作为提示。在编辑其中一个EditText时,会将焦点转移到下一个EditText;删除时将焦点转移到前一个EditText,但是当删除或编辑不是最后添加的字符时会出现问题。请问有人知道如何解决吗?以下是我在activity中的代码:
我已经做了类似的东西,使用了6个EditText(所需字符串的大小)和一个'_'字符作为提示。在编辑其中一个EditText时,会将焦点转移到下一个EditText;删除时将焦点转移到前一个EditText,但是当删除或编辑不是最后添加的字符时会出现问题。请问有人知道如何解决吗?以下是我在activity中的代码: private void manageFocus(final EditText beforeET, final EditText currenteET, final EditText afterET) {
if (beforeET != null) {
currenteET.setOnFocusChangeListener(new View.OnFocusChangeListener() {
@Override
public void onFocusChange(View v, boolean hasFocus) {
if (hasFocus && beforeET != null && beforeET.getText().toString().length() < 1 && currenteET.getText().toString().equals("")) {
beforeET.requestFocus();
}
}
});
}
currenteET.addTextChangedListener(new TextWatcher() {
@Override
public void beforeTextChanged(CharSequence s, int start, int count, int after) {
}
@Override
public void afterTextChanged(Editable s) {
}
@Override
public void onTextChanged(CharSequence s, int start, int before, int count) {
if (afterET != null && currenteET.getText().toString().length() >= 1) {
afterET.requestFocus();
} else if (beforeET != null && currenteET.getText().toString().length() < 1) {
beforeET.requestFocus();
}
}
});
}
布局代码如下:
<LinearLayout
android:id="@+id/login_layout_code"
android:layout_width="fill_parent"
android:layout_height="wrap_content"
android:orientation="horizontal"
android:gravity="center"
android:visibility="gone">

<EditText
android:id="@+id/login_code_et01"
android:layout_width="wrap_content"
android:layout_height="fill_parent"
android:hint="_"
android:textColorHint="@color/text_gray"
android:gravity="center"
android:textSize="@dimen/textsize_32"
android:inputType="number"
android:maxLength="1"
android:textColor="@color/text_gray"
fontPath="fonts/TitilliumText/TitilliumText22L-Bold.otf"/>

<EditText
android:id="@+id/login_code_et02"
android:layout_width="wrap_content"
android:layout_height="wrap_content"
android:hint="_"
android:textColorHint="@color/text_gray"
android:textSize="@dimen/textsize_32"
android:layout_toRightOf="@id/login_code_et01"
android:inputType="number"
android:maxLength="1"
android:textColor="@color/text_gray"
fontPath="fonts/TitilliumText/TitilliumText22L-Bold.otf"/>

<EditText
android:id="@+id/login_code_et03"
android:layout_width="wrap_content"
android:layout_height="wrap_content"
android:hint="_"
android:textColorHint="@color/text_gray"
android:textSize="@dimen/textsize_32"
android:layout_toRightOf="@id/login_code_et02"
android:inputType="number"
android:maxLength="1"
android:textColor="@color/text_gray"
fontPath="fonts/TitilliumText/TitilliumText22L-Bold.otf"/>

<EditText
android:id="@+id/login_code_et04"
android:layout_width="wrap_content"
android:layout_height="wrap_content"
android:hint="_"
android:textColorHint="@color/text_gray"
android:textSize="@dimen/textsize_32"
android:layout_toRightOf="@id/login_code_et03"
android:inputType="number"
android:maxLength="1"
android:textColor="@color/text_gray"
fontPath="fonts/TitilliumText/TitilliumText22L-Bold.otf"/>

<EditText
android:id="@+id/login_code_et05"
android:layout_width="wrap_content"
android:layout_height="wrap_content"
android:hint="_"
android:textColorHint="@color/text_gray"
android:textSize="@dimen/textsize_32"
android:layout_toRightOf="@id/login_code_et04"
android:inputType="number"
android:maxLength="1"
android:textColor="@color/text_gray"
fontPath="fonts/TitilliumText/TitilliumText22L-Bold.otf"/>

<EditText
android:id="@+id/login_code_et06"
android:layout_width="wrap_content"
android:layout_height="wrap_content"
android:hint="_"
android:textColorHint="@color/text_gray"
android:textSize="@dimen/textsize_32"
android:layout_toRightOf="@id/login_code_et05"
android:inputType="number"
android:maxLength="1"
android:textColor="@color/text_gray"
fontPath="fonts/TitilliumText/TitilliumText22L-Bold.otf"/>

</LinearLayout>