好的,我想进一步了解。我不知道是否可以使用dash实现。
我想创建一个表单(可能是来自Flask的WTForm)。
该表单应具有日期和注释/评论部分。
当有人提交表单时,它将保存到数据库中。
然后dash将读取它并在图表上显示。
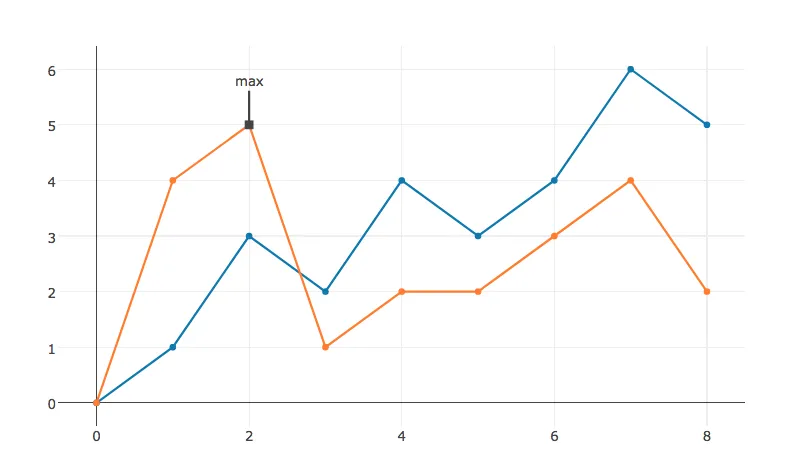
我的图表看起来像这样:
 在x轴上,将使用来自FlaskForm的日期表示存储在数据库中的事件,并且当我悬停在确切的日期时,注释将显示在图表本身中。
类似于这个:
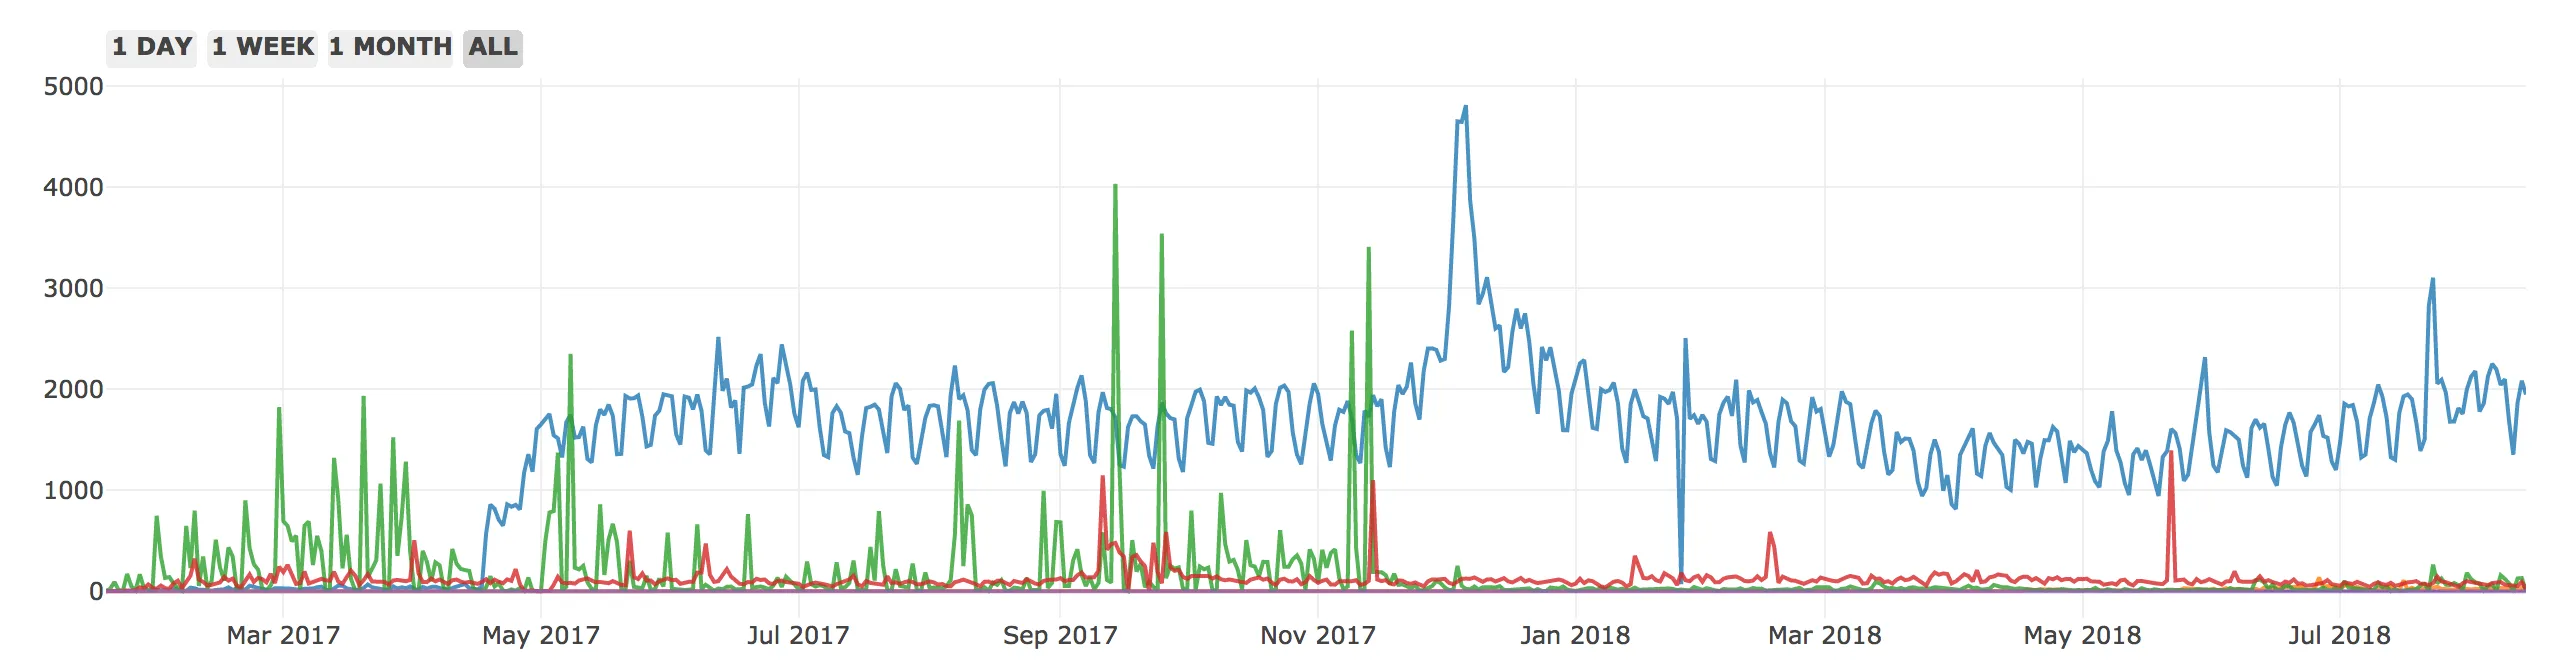
在x轴上,将使用来自FlaskForm的日期表示存储在数据库中的事件,并且当我悬停在确切的日期时,注释将显示在图表本身中。
类似于这个:
 现在,请问这是否可行?我应该使用哪些工具?这只是一个概念,但我认为对每个人都有帮助。
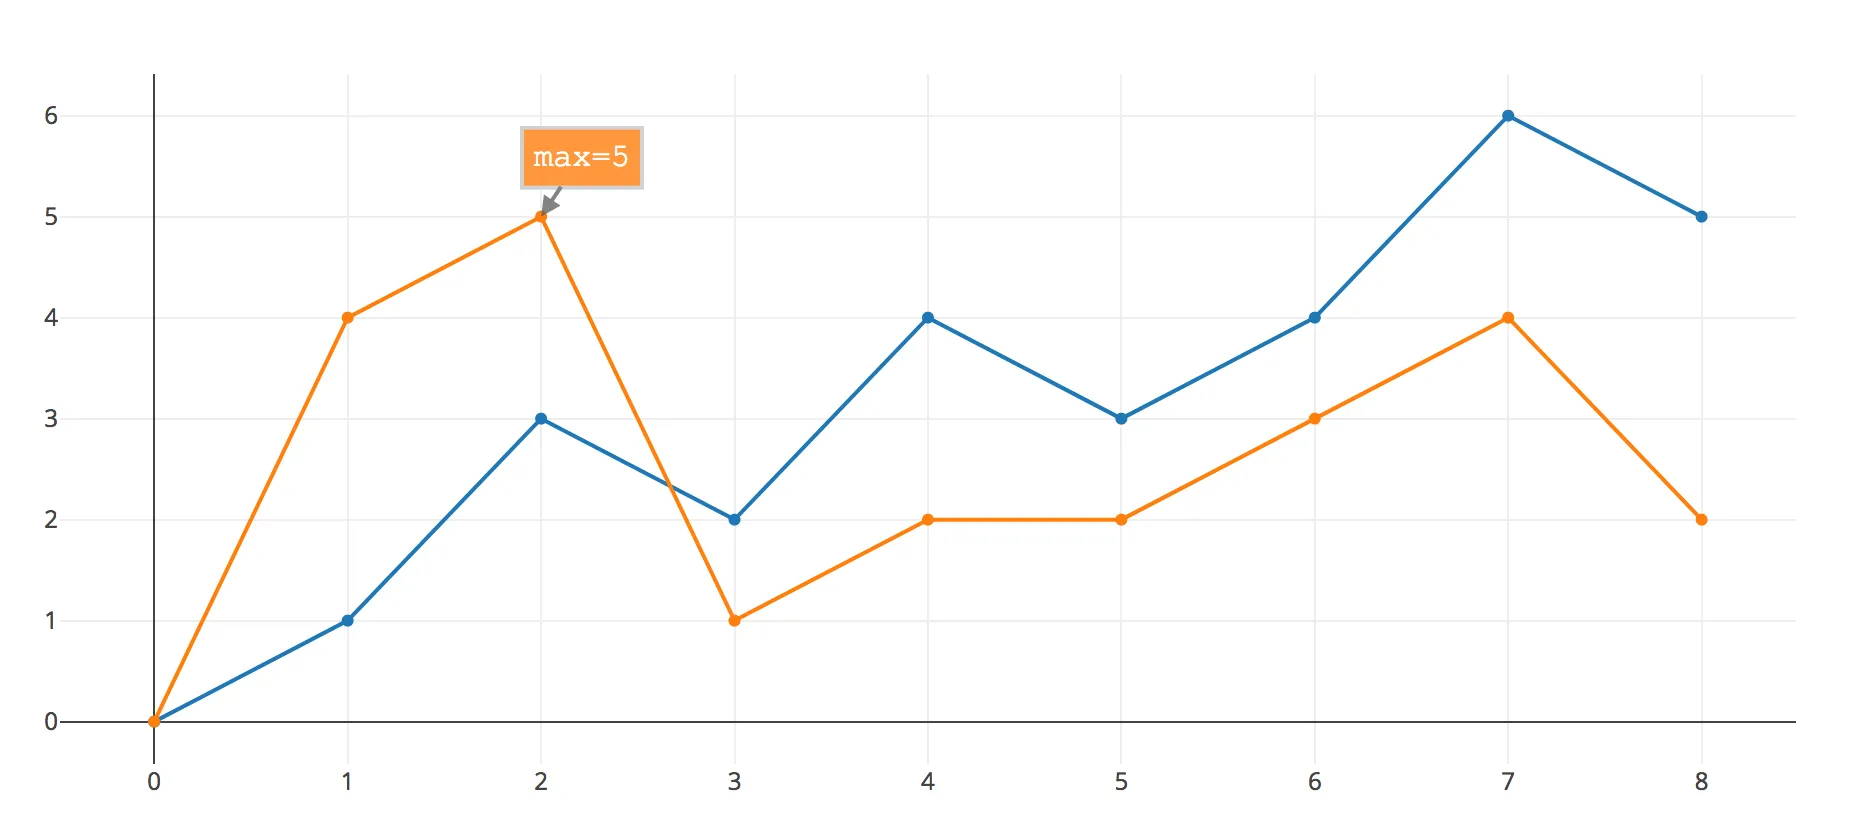
在x轴上,将使用来自FlaskForm的日期表示存储在数据库中的事件,并且当我悬停在确切的日期时,注释将显示在图表本身中。
类似于这个:
现在,请问这是否可行?我应该使用哪些工具?这只是一个概念,但我认为对每个人都有帮助。