在状态栏下绘制布局:
values/styles.xml
<item name="android:windowTranslucentStatus">true</item>
values-v21/styles.xml
<item name="android:windowDrawsSystemBarBackgrounds">true</item>
<item name="android:statusBarColor">@color/colorPrimaryDark</item>
使用CoordinatorLayout/DrawerLayout,它们已经处理了fitsSystemWindows参数,或者创建自己的布局像这样:
public class FitsSystemWindowConstraintLayout extends ConstraintLayout {

    private Drawable mStatusBarBackground;
    private boolean mDrawStatusBarBackground;

    private WindowInsetsCompat mLastInsets;

    private Map<View, int[]> childsMargins = new HashMap<>();

    public FitsSystemWindowConstraintLayout(Context context) {
        this(context, null);
    }

    public FitsSystemWindowConstraintLayout(Context context, AttributeSet attrs) {
        this(context, attrs, 0);
    }

    public FitsSystemWindowConstraintLayout(Context context, AttributeSet attrs, int defStyleAttr) {
        super(context, attrs, defStyleAttr);

        if (ViewCompat.getFitsSystemWindows(this)) {
            ViewCompat.setOnApplyWindowInsetsListener(this, new android.support.v4.view.OnApplyWindowInsetsListener() {
                @Override
                public WindowInsetsCompat onApplyWindowInsets(View view, WindowInsetsCompat insets) {
                    FitsSystemWindowConstraintLayout layout = (FitsSystemWindowConstraintLayout) view;
                    layout.setChildInsets(insets, insets.getSystemWindowInsetTop() > 0);
                    return insets.consumeSystemWindowInsets();
                }
            });
            setSystemUiVisibility(View.SYSTEM_UI_FLAG_LAYOUT_STABLE
                    | View.SYSTEM_UI_FLAG_LAYOUT_FULLSCREEN);
            TypedArray typedArray = context.obtainStyledAttributes(new int[]{android.R.attr.colorPrimaryDark});
            try {
                mStatusBarBackground = typedArray.getDrawable(0);
            } finally {
                typedArray.recycle();
            }
        } else {
            mStatusBarBackground = null;
        }
    }

    public void setChildInsets(WindowInsetsCompat insets, boolean draw) {
        mLastInsets = insets;
        mDrawStatusBarBackground = draw;
        setWillNotDraw(!draw && getBackground() == null);

        for (int i = 0; i < getChildCount(); i++) {
            View child = getChildAt(i);
            if (child.getVisibility() != GONE) {
                if (ViewCompat.getFitsSystemWindows(this)) {
                    ConstraintLayout.LayoutParams layoutParams = (ConstraintLayout.LayoutParams) child.getLayoutParams();

                    if (ViewCompat.getFitsSystemWindows(child)) {
                        ViewCompat.dispatchApplyWindowInsets(child, insets);
                    } else {
                        int[] childMargins = childsMargins.get(child);
                        if (childMargins == null) {
                            childMargins = new int[]{layoutParams.leftMargin, layoutParams.topMargin, layoutParams.rightMargin, layoutParams.bottomMargin};
                            childsMargins.put(child, childMargins);
                        }
                        if (layoutParams.leftToLeft == LayoutParams.PARENT_ID) {
                            layoutParams.leftMargin = childMargins[0] + insets.getSystemWindowInsetLeft();
                        }
                        if (layoutParams.topToTop == LayoutParams.PARENT_ID) {
                            layoutParams.topMargin = childMargins[1] + insets.getSystemWindowInsetTop();
                        }
                        if (layoutParams.rightToRight == LayoutParams.PARENT_ID) {
                            layoutParams.rightMargin = childMargins[2] + insets.getSystemWindowInsetRight();
                        }
                        if (layoutParams.bottomToBottom == LayoutParams.PARENT_ID) {
                            layoutParams.bottomMargin = childMargins[3] + insets.getSystemWindowInsetBottom();
                        }
                    }
                }
            }
        }

        requestLayout();
    }

    public void setStatusBarBackground(Drawable bg) {
        mStatusBarBackground = bg;
        invalidate();
    }

    public Drawable getStatusBarBackgroundDrawable() {
        return mStatusBarBackground;
    }

    public void setStatusBarBackground(int resId) {
        mStatusBarBackground = resId != 0 ? ContextCompat.getDrawable(getContext(), resId) : null;
        invalidate();
    }

    public void setStatusBarBackgroundColor(@ColorInt int color) {
        mStatusBarBackground = new ColorDrawable(color);
        invalidate();
    }

    @Override
    public void onDraw(Canvas canvas) {
        super.onDraw(canvas);
        if (mDrawStatusBarBackground && mStatusBarBackground != null) {
            int inset = mLastInsets != null ? mLastInsets.getSystemWindowInsetTop() : 0;
            if (inset > 0) {
                mStatusBarBackground.setBounds(0, 0, getWidth(), inset);
                mStatusBarBackground.draw(canvas);
            }
        }
    }
}
主活动的xml文件
<FitsSystemWindowConstraintLayout xmlns:android="http://schemas.android.com/apk/res/android"
    xmlns:app="http://schemas.android.com/apk/res-auto"
    xmlns:tools="http://schemas.android.com/tools"
    android:layout_width="match_parent"
    android:layout_height="match_parent"
    android:fitsSystemWindows="true">

    <ImageView
        android:layout_width="0dp"
        android:layout_height="0dp"
        android:fitsSystemWindows="true"
        android:scaleType="centerCrop"
        android:src="@drawable/toolbar_background"
        app:layout_constraintBottom_toBottomOf="@id/toolbar"
        app:layout_constraintLeft_toLeftOf="parent"
        app:layout_constraintRight_toRightOf="parent"
        app:layout_constraintTop_toTopOf="parent" />

    <android.support.v7.widget.Toolbar
        android:id="@+id/toolbar"
        android:layout_width="0dp"
        android:layout_height="?attr/actionBarSize"
        android:background="@android:color/transparent"
        app:layout_constraintLeft_toLeftOf="parent"
        app:layout_constraintRight_toRightOf="parent"
        app:layout_constraintTop_toTopOf="parent" />

    <LinearLayout
        android:layout_width="0dp"
        android:layout_height="0dp"
        android:gravity="center"
        app:layout_constraintBottom_toBottomOf="parent"
        app:layout_constraintLeft_toLeftOf="parent"
        app:layout_constraintRight_toRightOf="parent"
        app:layout_constraintTop_toBottomOf="@id/toolbar">

        <TextView
            android:layout_width="match_parent"
            android:layout_height="wrap_content"
            android:gravity="center"
            android:text="Content"
            android:textSize="48sp" />
    </LinearLayout>
</FitsSystemWindowConstraintLayout>
结果:
截图:
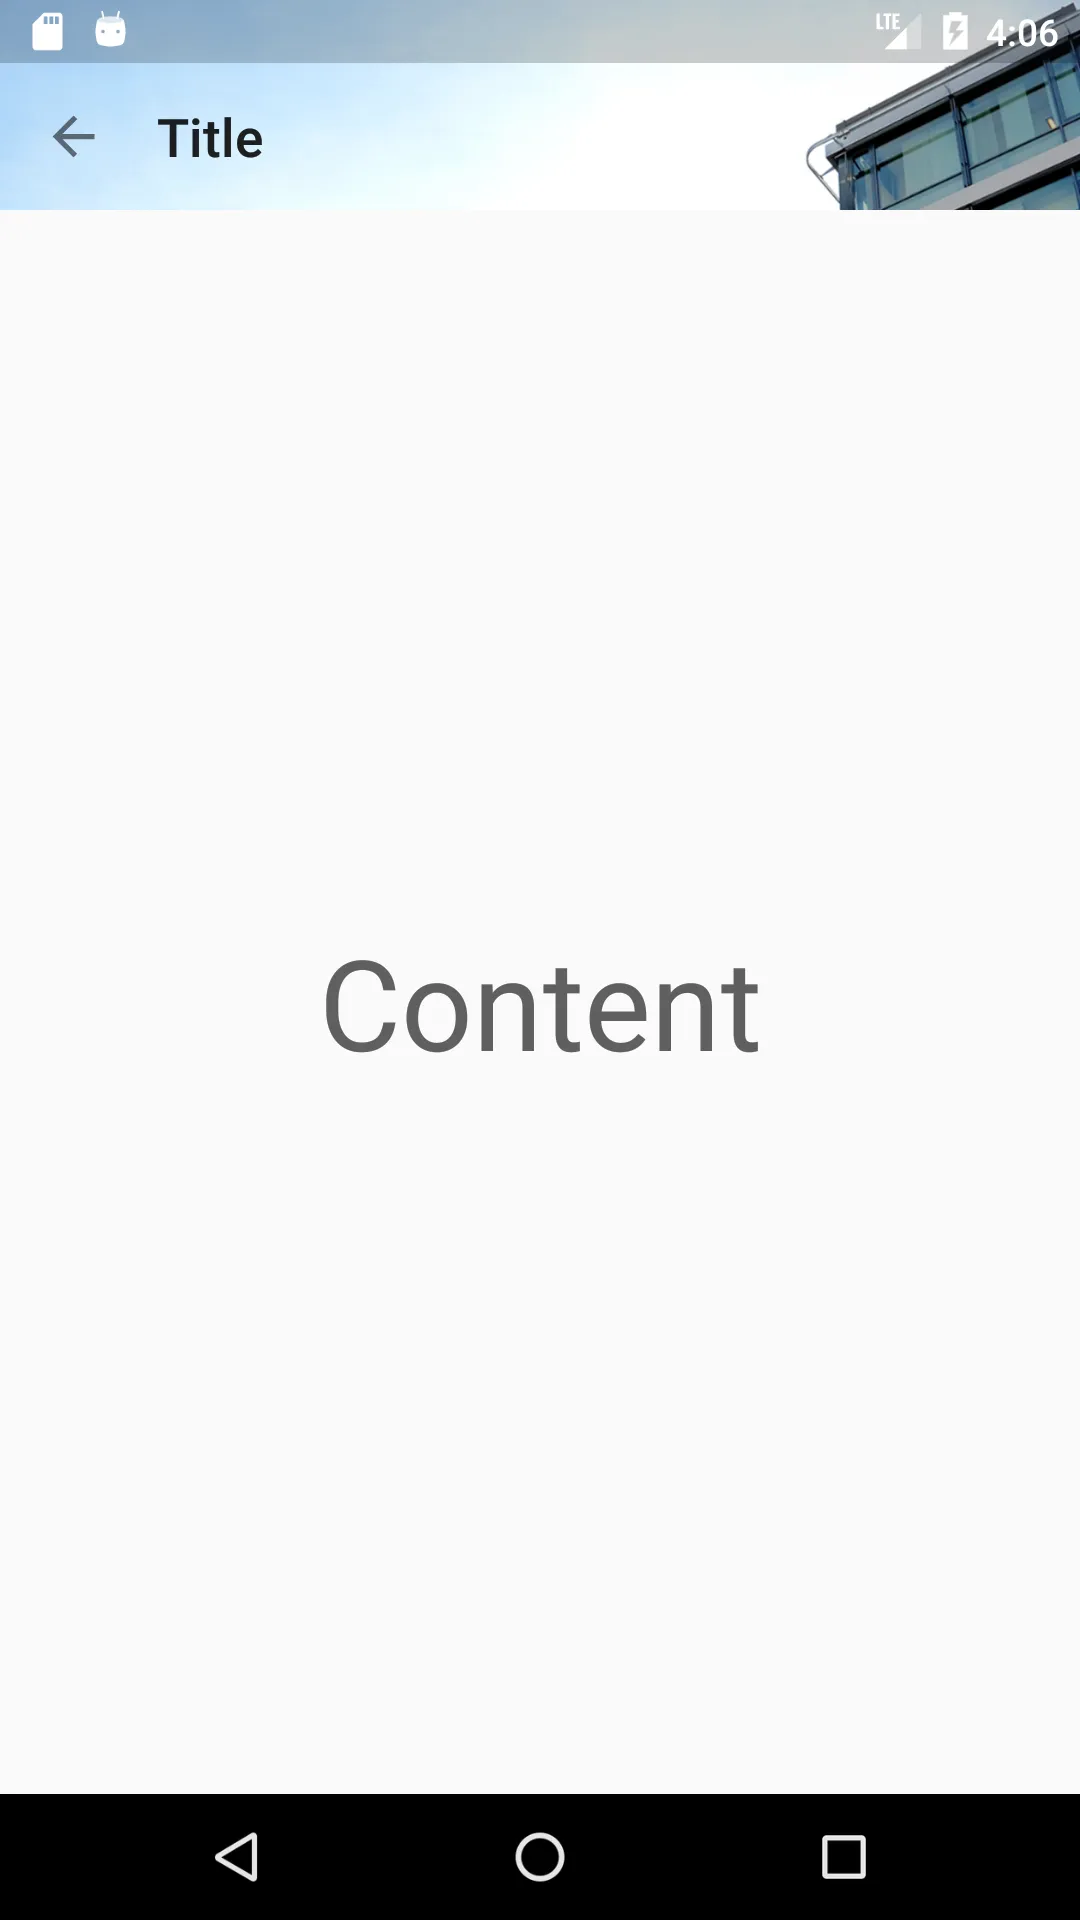
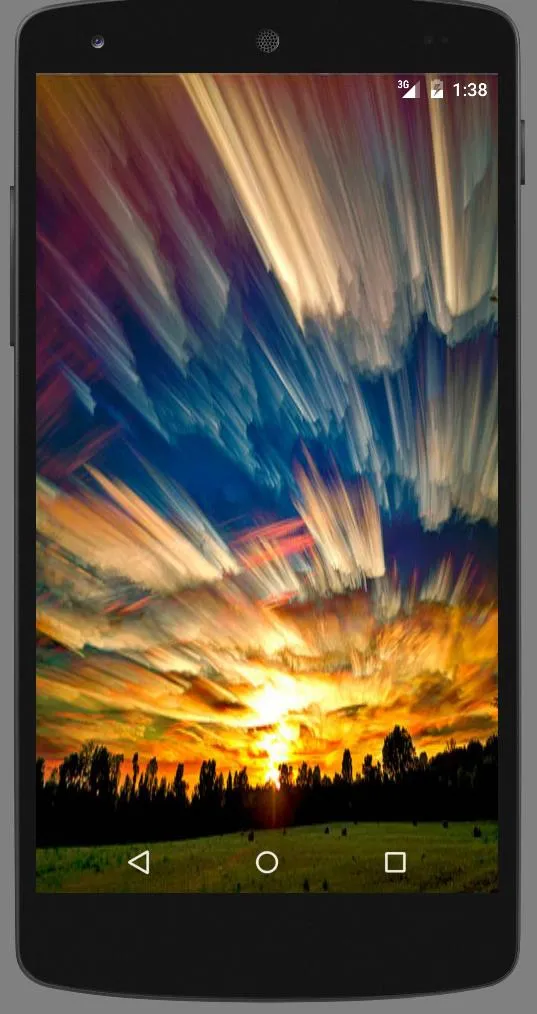
![1]](https://istack.dev59.com/wOgJi.webp)