我希望能够通过编程的方式在Swift中添加联系人(仅包括姓名和电话号码)。我已经找到了一些Objective-C的示例,但即使在Objective-C中也无法使它们工作。我不想使用AddressBookUI,因为我想从自己的UI获取值。
4个回答
10
这是一个快速在Swift中添加联系人的方法。我已在我的iPhone 5 iOS 7.1上验证过,因为我发现模拟器并不总是与我的手机匹配AB相关功能的结果。
你可以添加一个按钮并指向这个方法:
@IBAction func createContact(sender: AnyObject) {
    var newContact:ABRecordRef! = ABPersonCreate().takeRetainedValue()
    var success:Bool = false
    var newFirstName:NSString = "AA"
    var newLastName = "a"

//Updated to work in Xcode 6.1
        var error: Unmanaged<CFErrorRef>? = nil
//Updated to error to &error so the code builds in Xcode 6.1
    success = ABRecordSetValue(newContact, kABPersonFirstNameProperty, newFirstName, &error)
    println("setting first name was successful? \(success)")
    success = ABRecordSetValue(newContact, kABPersonLastNameProperty, newLastName, &error)
    println("setting last name was successful? \(success)")
    success = ABAddressBookAddRecord(adbk, newContact, &error)
    println("Adbk addRecord successful? \(success)")
    success = ABAddressBookSave(adbk, &error)
    println("Adbk Save successful? \(success)")

}//createContact
顺便提一下,它假定您已经分配了一个地址簿变量,并且可以通过覆盖viewDidAppear来打开视图。 它也会执行安全提示:
override func viewDidAppear(animated: Bool) {
    super.viewDidAppear(animated)
    if !self.authDone {
        self.authDone = true
        let stat = ABAddressBookGetAuthorizationStatus()
        switch stat {
        case .Denied, .Restricted:
            println("no access")
        case .Authorized, .NotDetermined:
            var err : Unmanaged<CFError>? = nil
            var adbk : ABAddressBook? = ABAddressBookCreateWithOptions(nil, &err).takeRetainedValue()
            if adbk == nil {
                println(err)
                return
            }
            ABAddressBookRequestAccessWithCompletion(adbk) {
                (granted:Bool, err:CFError!) in
                if granted {
                    self.adbk = adbk
                } else {
                    println(err)
                }//if
            }//ABAddressBookReqeustAccessWithCompletion
        }//case
    }//if
}//viewDidAppear
- John Kucera
3
9
使用Swift 3通过按钮点击添加联系人
在项目plist文件中添加以下行:
Privacy - Contacts Usage Description
接下来:
import AddressBook
import Contacts
在按钮点击时,您需要添加以下内容。
let newContact = CNMutableContact()
newContact.givenName = "Your Name"
newContact.jobTitle = "CTO xyz Company"

let workEmail = CNLabeledValue(label:CNLabelWork, value:"demoxyz@gmail.com" as NSString)
newContact.emailAddresses = [workEmail]
newContact.phoneNumbers = [CNLabeledValue(
    label:CNLabelPhoneNumberiPhone,
    value:CNPhoneNumber(stringValue:"0123456789"))]
do {
    let saveRequest = CNSaveRequest()
    saveRequest.add(newContact, toContainerWithIdentifier: nil)
    try AppDelegate.getAppDelegate().contactStore.execute(saveRequest)
} catch {
    AppDelegate.getAppDelegate().showMessage("Unable to save the new contact.")
}
在应用程序代理中添加一些自定义类。
// MARK: Custom functions
class func getAppDelegate() -> AppDelegate {
    return UIApplication.shared.delegate as! AppDelegate
}

func showMessage(_ message: String) {
    let alertController = UIAlertController(title: "Birthdays", message: message, preferredStyle: UIAlertControllerStyle.alert)

    let dismissAction = UIAlertAction(title: "OK", style: UIAlertActionStyle.default) { (action) -> Void in
    }

    alertController.addAction(dismissAction)

    let pushedViewControllers = (self.window?.rootViewController as! UINavigationController).viewControllers
    let presentedViewController = pushedViewControllers[pushedViewControllers.count - 1]

    presentedViewController.present(alertController, animated: true, completion: nil)
}

func requestForAccess(_ completionHandler: @escaping (_ accessGranted: Bool) -> Void) {
    let authorizationStatus = CNContactStore.authorizationStatus(for: CNEntityType.contacts)

    switch authorizationStatus {
    case .authorized:
        completionHandler(true)

    case .denied, .notDetermined:
        self.contactStore.requestAccess(for: CNEntityType.contacts, completionHandler: { (access, accessError) -> Void in
            if access {
                completionHandler(access)
            }
            else {
                if authorizationStatus == CNAuthorizationStatus.denied {
                    DispatchQueue.main.async(execute: { () -> Void in
                        let message = "\(accessError!.localizedDescription)\n\nPlease allow the app to access your contacts through the Settings."
                        self.showMessage(message)
                    })
                }
            }
        })

    default:
        completionHandler(false)
    }
}
你已经完成; 测试项目并检查联系人应用程序。
- Abdul Karim
2
2你需要在按钮的视图中添加“let contactStore = CNContactStore()”。 - Channel
这不是一个问题..你只是忘记在你的代码示例中添加我写的那一行了.. :) - Channel
9
Swift 4和5
import ContactsUI
继承自CNContactViewControllerDelegate类
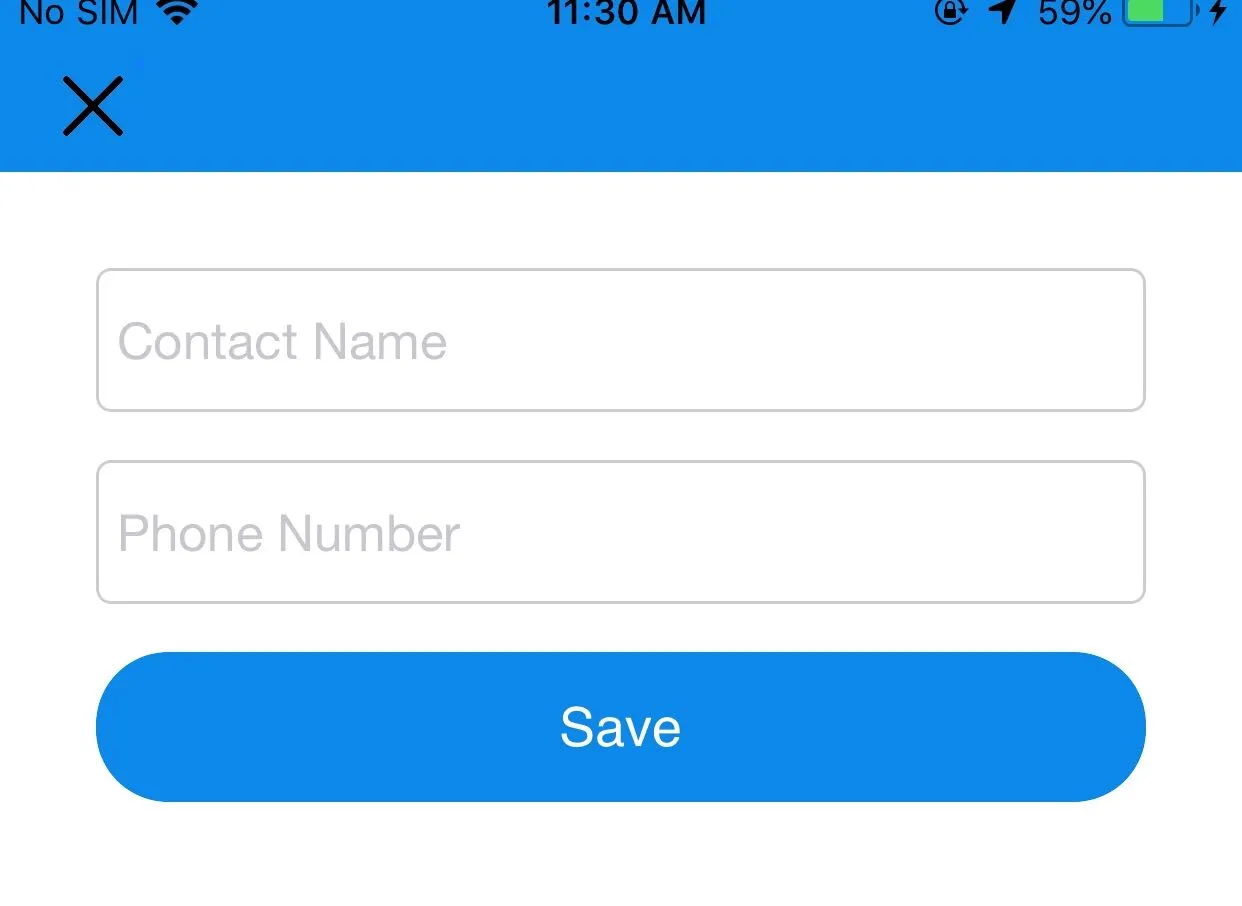
@IBOutlet var contactNameTxt: UITextField!
@IBOutlet var phoneNumberTxt: UITextField!

@IBAction func saveActionBtn(_ sender: UIButton) {

        let store = CNContactStore()
        let contact = CNMutableContact()

        // Name
        contact.givenName = contactNameTxt.text ?? ""

        // Phone
        contact.phoneNumbers.append(CNLabeledValue(
            label: "mobile", value: CNPhoneNumber(stringValue: phoneNumberTxt.text ?? "")))

        // Save
        let saveRequest = CNSaveRequest()
        saveRequest.add(contact, toContainerWithIdentifier: nil)
        try? store.execute(saveRequest)
}
- Akbar Khan
0
我使用了以下代码行
var addressBook : ABAddressBookRef = ABAddressBookCreate()
var contactPerson : ABRecordRef = ABPersonCreate()

ABRecordSetValue(contactPerson, kABPersonFirstNameProperty, txtFirstName.text, nil);
ABRecordSetValue(contactPerson, kABPersonLastNameProperty, txtLastName.text, nil);
但是当插入的记录包含"nil"时
在从通讯录读取联系人时,以下代码片段有帮助
var firstName: NSString! = Unmanaged<CFString>.fromOpaque(ABRecordCopyValue(contactPerson, kABPersonFirstNameProperty).toOpaque()).takeUnretainedValue().__conversion()
- Govind
1
ABAddressBookCreate()已经被弃用,你应该使用ABAddressBookCreateWithOptions()。例如:let addressBook:ABAddressBookRef! = ABAddressBookCreateWithOptions(nil, &error).takeRetainedValue()。- 在最新的测试版中,不再需要使用
fromOpaque/toOpaque技巧。例如:let first = ABRecordCopyValue(person, kABPersonFirstNameProperty).takeRetainedValue() as String。
网页内容由stack overflow 提供, 点击上面的可以查看英文原文,
原文链接
原文链接
ABAddressBookCreateWithOptions时,您的err是未管理的,因此,除非您为err调用takeRetainedValue(),否则它将泄漏。同样,当您设置ABRecordRef的属性时,(a)我认为您可以消除UnsafeMutablePointer并只使用var error:Unmanaged<CFErrorRef>?;和(b)如果任何这些行生成错误,则您还会想要takeRetainedValue。 - Rob