安装Android SDK/ ADT Bundle在Ubuntu上需要做什么?
每一步的答案都是我在遇到问题并在适当的论坛发帖后找到的。所以我认为这对于那些需要重新安装Ubuntu并从头开始安装Android SDK / ADT Bundle的人来说将会非常有用。
每一步的答案都是我在遇到问题并在适当的论坛发帖后找到的。所以我认为这对于那些需要重新安装Ubuntu并从头开始安装Android SDK / ADT Bundle的人来说将会非常有用。
Target     : Super Newbies
IDE        : Eclipse
Description: Provide a GUI method to install Android IDE using Eclipse
前往http://developer.android.com/sdk/index.html下载最新版本的SDK。
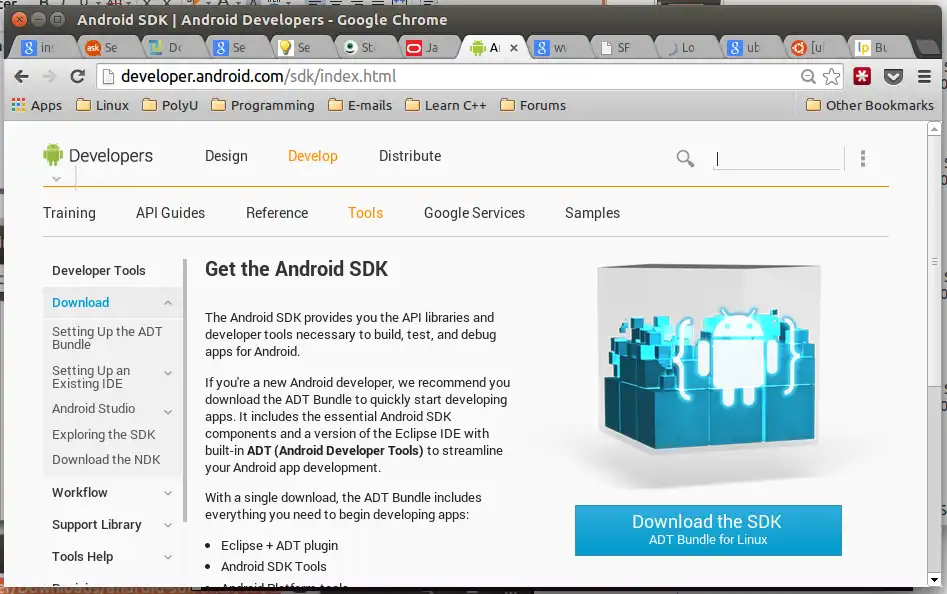
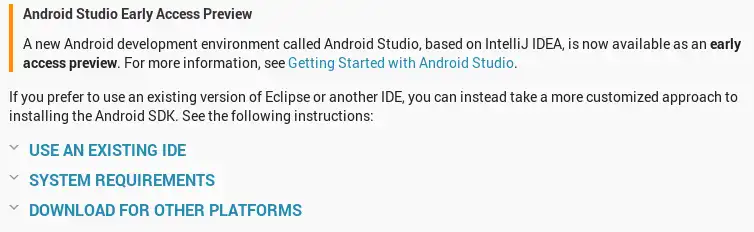
向下滚动并点击从其他平台下载。
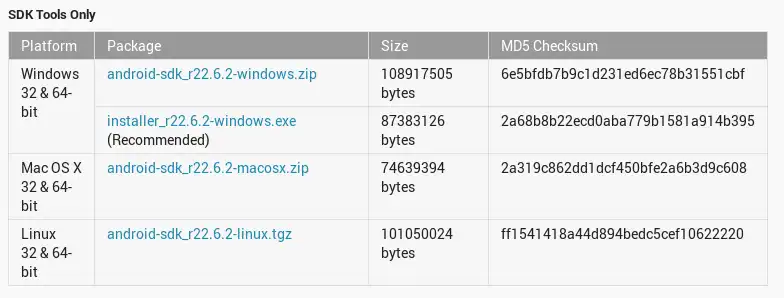
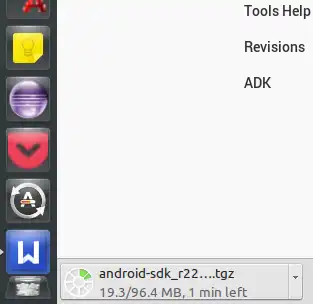
在SDK Tools Only的Linux 32 & 64-bit下,点击android-sdk_r22.6.2-linux.tgz。
勾选我已阅读并同意上述条款和条件,然后点击下载 android-sdk_r22.6.2-linux.tgz。
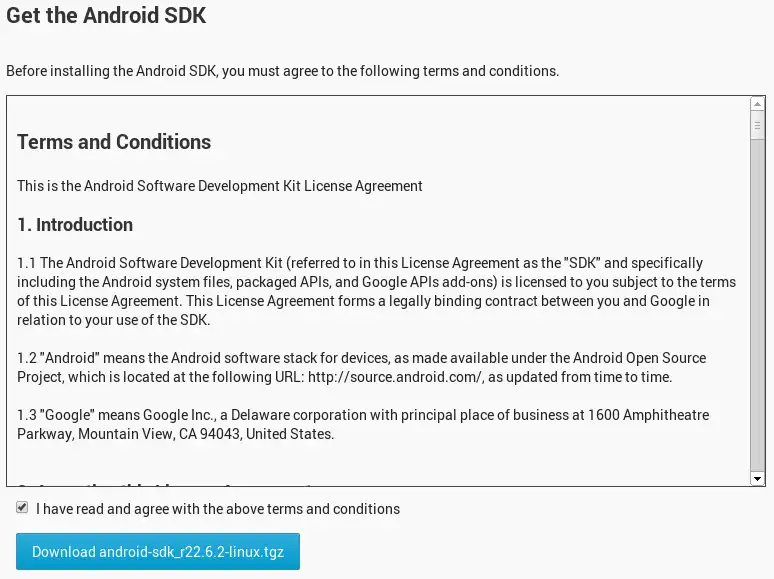
等待下载过程完成。
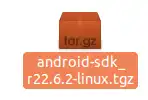
右键点击文件[.tgz],选择在此处提取。
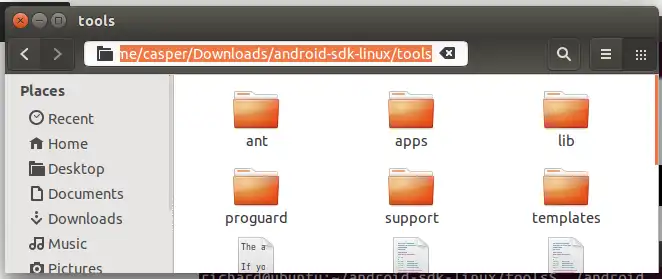
现在你可以看到一个名为android-sdk-linux的文件出现,如下所示。
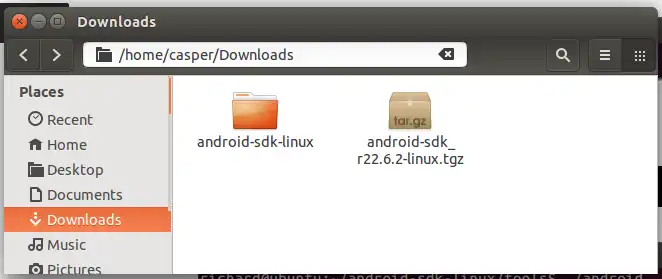
进入文件夹android-sdk-linux。
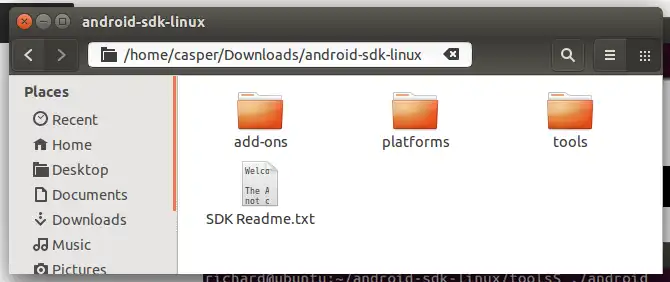
进入文件夹tools,然后复制文件夹位置。
按下键盘上的CTRL + ALT + T打开终端,然后使用以下命令。其中/home/casper/Downloads/android-sdk-linux/tools是我之前复制的位置。你只需输入cd,然后右键粘贴位置到终端中。
    cd /home/casper/Downloads/android-sdk-linux/tools
    ./android

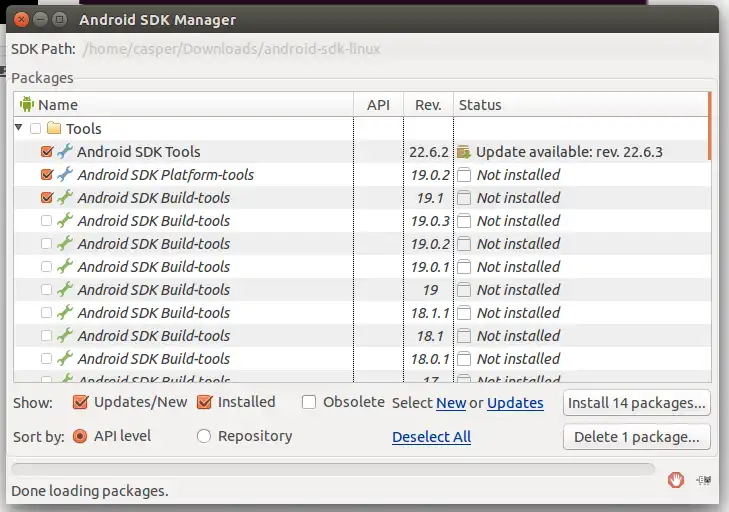
现在Android SDK Manager将会运行。
点击 安装 [数字] 个软件包...。
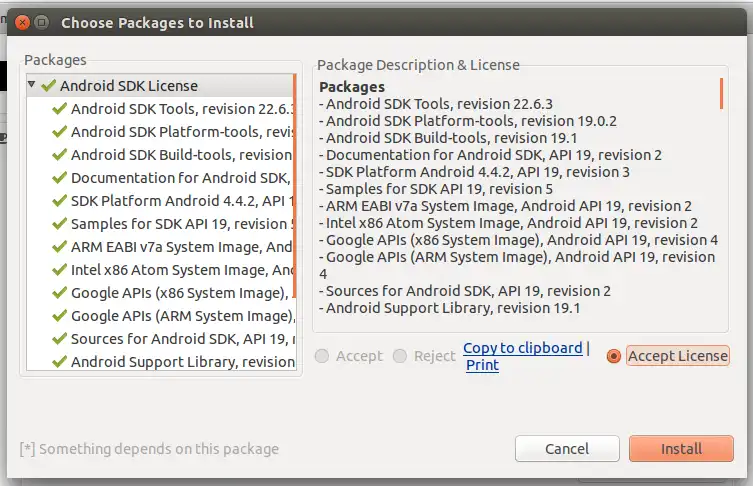
点击 接受许可协议,然后点击 安装。
等待安装过程。
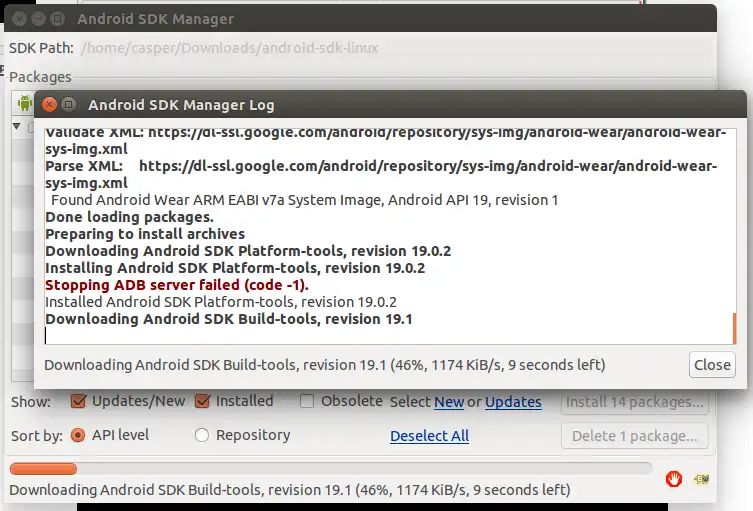
最后,将显示以下消息。
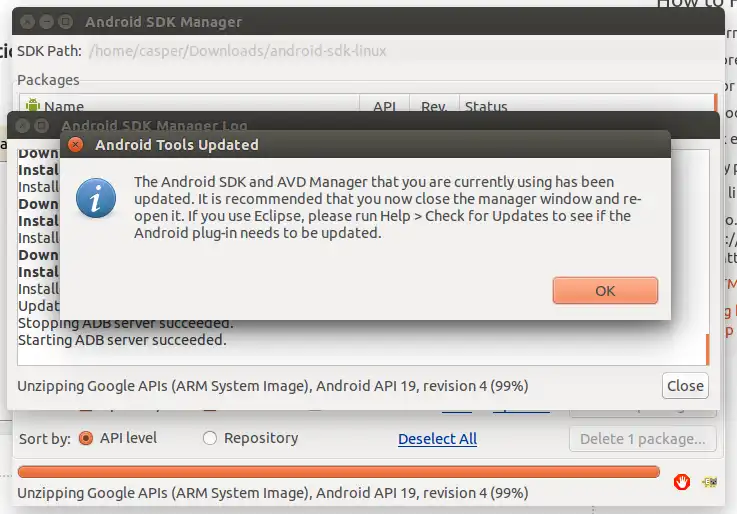
gedit ~/.bashrc
现在会出现以下文本。android-sdk-linux移动到您的eclipse工作区,并放在一个名为Android的文件夹下。此外,您需要复制该位置。android avd来打开Android虚拟设备管理器。开发者工具复选框,然后点击下一步>。android-sdk-linux的位置)。SDK位置:文本框,然后点击应用和确定。openjdk-7-jdk,从android.com下载ADT(包括SDK的Eclipse),并在Dash中创建一个快捷方式。这样你也可以拥有最新版本的Eclipse。 - Louis MatthijssenAndroid SDK Manager,安装Intel x86 Atom System Image适用于API 19(最新版本,所有API都向后兼容,所以不要使用旧版本)。然后使用这个镜像创建一个AVD。默认的镜像真的很慢,启动需要30分钟,而且会占用100%的CPU。这是因为它是ARM架构,而你的系统是x86架构,所以需要模拟一切。使用Intel的镜像,你的电脑(可能)可以利用CPU的虚拟化能力,在不到10秒钟内启动。还要勾选Use Host GPU以防止AVD出现延迟。 - Louis Matthijssensudo apt-get install lib32stdc++6。这是因为您需要支持32位库,而ia32已经不再可用。来源:http://dandar3.blogspot.mx/2014/03/android-sdk-tools-on-ubuntu-1404-beta.html - An SO Usersudo apt-get install android-sdk进行安装。你能否基于此制作一个教程? - Khurshid Alam./android不再起作用。 - Sid步骤1
在系统设置 -> 详细信息中检查您的Ubuntu是32位还是64位
第二步
(使用软件中心或命令行)如果您的Ubuntu是32位操作系统,则安装
libgl1-mesa-dev如果是64位操作系统,请安装
ia32-libs(适用于Ubuntu 13.04或更早版本),或者libgl1-mesa-dev:i386(适用于Ubuntu 13.10及更高版本)
/opt/。
Step 5
Check that the unzipped ADT Bundle folder (or Android SDK folder, as the case may be) have the folders
toolsandplatform-tools. Ifplatform-toolsfolder is absent, you should be able to install it from the android virtual device manager, which can be run by typing the commandandroidin the terminal. These folders contain some important commands stored. Add them to your executable path. Adding them to the path can be done as follows:
First execute
gedit ~/.pam_environment. A file opens. Just add these lines to that file:PATH DEFAULT=${PATH}:/path/to/tools PATH DEFAULT=${PATH}:/path/to/platform-toolsHere you have to replace
/path/to/toolsand/path/to/platform-toolsby the absolute paths according to where you unzipped the SDK or the ADT bundle download. Now all the commandsadb,android,emulatoretc can be simply executed in the terminal without giving absolute paths. That is, you will not get a "command not found" error if you gave it without its absolute path.
.pam_environment文件位于用户的主目录中,因此属于用户所有,为什么需要使用sudo命令来运行... .pam_environment呢? - WilfPATH="$PATH:/path/to/tools:/path/to/platform/tools"添加到你的.profile文件中。如果你更改语言配置,.pam_environment文件会被覆盖掉... - Rmanotools或platform-tools文件夹... - Rustavorepath/android-sdk-linux/tools 目录下,并执行 ./android 命令来安装 SDK。 - NearooADT。点击Android ADT来检查它是否正常工作!adt和android-sdk。sudo add-apt-repository ppa:linuxgndu/adt-raring
sudo apt-get update
sudo apt-get install adt android-sdk
android-sdk,您需要:sudo sh /opt/android-sdk/install-sdk
android-studio:sudo apt-get install android-studio
android-sdk-manager
CLI方法
在Ubuntu 15.10和Android 22上测试通过。
在设备上:
然后:
sudo apt-get install ant gradle openjdk-7-jdk

cd

# Get device permissions.
# MANUAL find vendor ID on this table: http://developer.android.com/tools/device.html#VendorIds
# http://stackoverflow.com/a/5510745/895245
VENDOR_ID='054c'
UDEV_PATH='/etc/udev/rules.d/51-android.rules'
echo 'SUBSYSTEM=="usb", ATTR'"$VENDOR_ID"'=="0bb4", MODE="0666", GROUP="plugdev"' | sudo tee "$UDEV_PATH"
sudo chmod a+r "$UDEV_PATH"
sudo /etc/init.d/udev restart

wget http://dl.google.com/android/android-sdk_r24.4.1-linux.tgz
tar -xvf android-sdk_r24.4.1-linux.tgz

# MANUAL run the ./tools/android GUI and install the SDK versions you need
# Better: just download EVERYTHING to save you annoyances later on.
# Yes, it takes a ton of space (50Gib+).
# http://stackoverflow.com/questions/17963508/how-to-install-android-sdk-build-tools-on-the-command-line
# The automated command line should look something like:
#API=22
#N="$(android list sdk --all |& grep 'SDK Platform Android' | grep "API $API" | cut -d- -f1)"
#android update sdk -u -a -t $N

# Studio
wget https://dl.google.com/dl/android/studio/ide-zips/1.5.1.0/android-studio-ide-141.2456560-linux.zip
unzip android-studio-ide-141.2456560-linux.zip
cd android-studio/bin
./studio.sh

# NDK
wget http://dl.google.com/android/ndk/android-ndk-r10e-linux-x86_64.bin
chmod a+x android-ndk-r10e-linux-x86_64.bin
./android-ndk-r10e-linux-x86_64.bin
mv android-ndk-r10e android-ndk
~/.profile文件中:TODO:这些中哪些是实际必需的?export ANDROID_SDK="$HOME/android-sdk"
# Present on the default build.xml generated by "android create project [...] in Android 22.
export ANDROID_HOME="$ANDROID_SDK"
export ANDROID_NDK="$HOME/android-ndk"s
export ANDROID_NDK_ROOT="$ANDROID_NDK"
# Used by https://github.com/googlesamples/android-ndk/tree/3cd41e1f5280443665ca98463c7a76e80bf0b96c/native-codec
export ANDROID_NDK_HOME="$ANDROID_NDK"
export ANDROID_ABI='armeabi-v7a'
export ANDROID_JAVA_HOME="$JAVA_HOME"
export ANDROID_STUDIO="$HOME/android-studio/"
export PATH="$ANDROID_SDK/platform-tools:$ANDROID_SDK/tools:${ANDROID_STUDIO}/bin:${ANDROID_NDK}:${PATH}"
sudo "$(which adb)" kill-server
sudo "$(which adb)" start-server
测试安装
获取一个像这样的简单项目或者在$ANDROID_SDK/samples/下查找。
如果是一个Ant项目(包含一个build.xml文件),运行:
ant debug
ant installd
gradlew文件),请运行:./gradlew assembleDebug
./gradlew installDebug
studio.sh
$ANDROID_NDK/samples下找到,您可以使用以下命令构建和安装它们:ndk-build
# Create build.xml, as per: http://stackoverflow.com/questions/5572304/how-to-build-the-android-sample-projectsusing-ant-build-xml-does-not-exist
android update project -p . -t android-22
ant clean
ant debug
ant installd
官方Debian软件包的状态
目前没有官方的Debian软件包。
但是有一个Google Summer of Code 2015项目正在尝试解决这个问题:https://www.google-melange.com/gsoc/project/details/google/gsoc2015/seamlik/5707702298738688
function cat_export_vars () { cat <<- _EOF_ (export directives) _EOF_ },然后只需使用cat_export_vars >> .bashrc,然后. .bashrc或source .bashrc,这做的是同样的事情。更好的是,这将作为一个脚本来设置一个基本的Android SDK。 - user383919.profile中设置一些变量,这样从仪表板启动的程序就能看到它们。脚本:这是我能做到的最接近的了,请注意有一些标记为手动步骤的地方,我无法自动化处理。https://www.google-melange.com/archive/gsoc/2015/orgs/debian/projects/seamlik.html 是我们目前最好的希望。 - Ciro Santilli OurBigBook.com