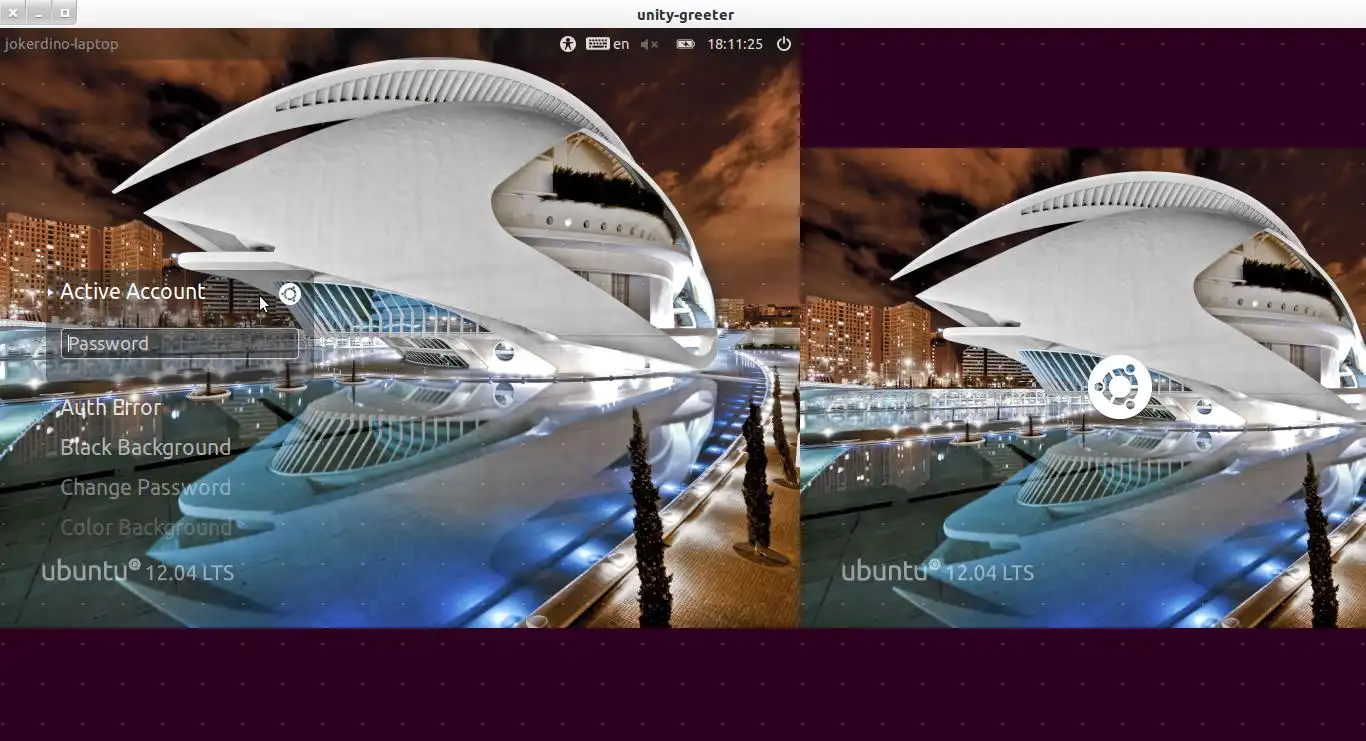
如何在登录界面截屏?
我不想在虚拟机中重新安装我的Ubuntu。
我不想在虚拟机中重新安装我的Ubuntu。
sudo apt-get install imagemagick
echo 'DISPLAY=:0 XAUTHORITY=/var/lib/gdm/:0.Xauth xwd -root' >/tmp/shot.sh
sudo bash /tmp/shot.sh >/tmp/shot.xwd
convert -quality 50 /tmp/shot.xwd /tmp/shot.jpg
convert /tmp/shot.xwd /tmp/shot.png
sudo sh -c 'sleep 5s; xwd -display :0 -root | convert - screenshot.png',从虚拟控制台切换到登录屏幕,在5秒的休眠期间完成截图并转换为screenshot.png文件。 - ændrük对于11.10和Lightdm及更高版本
您可以尝试在终端中运行unity-greeter --test-mode。它会在会话中显示登录屏幕。然后,您可以像通常使用其他应用程序一样对登录屏幕进行截图。
gnome-screenshot -d 10
gnome-screensaver-command -l && sleep 2 && gnome-screenshot -c && loginctl unlock-session
dm-tool add-nested-seat --fullscreen
上面的答案在我的Ubuntu 14.04中无效- 我搜索了一下,找到了这个可行的方法。
安装ImageMagick
sudo apt-get install imagemagick
在您的主目录中创建一个名为shot.sh的文件,最好放在您的主文件夹中,并将以下代码粘贴到其中:
chvt 7;
sleep 5s;
DISPLAY=:0 XAUTHORITY=/var/run/lightdm/root/:0 xwd -root -out ~/screenshot.xwd;
convert ~/screenshot.xwd ~/screenshot.png;
rm ~/screenshot.xwd
使其可执行
sudo chmod +x shot.sh
退出系统。按下Ctrl+Alt+F1进入控制台(tty1)并登录。使用以下命令运行脚本:
sudo ./shot.sh
myusername@pcA:~$ ssh pcB
myusername@pcB's password:
Linux pcB 2.6.32-44-generic #98-Ubuntu SMP Mon Sep 24 17:32:45 UTC 2012 i686 GNU/Linux
Ubuntu 10.04.4 LTS

Welcome to Ubuntu!
 * Documentation:  https://help.ubuntu.com/

myusername@pcB:~$
xwininfo无法探测窗口状态。myusername@pcB:~$ xwininfo
xwininfo: unable to open display ''
myusername@pcB:~$ sudo xwininfo
[sudo] password for myusername:
xwininfo: unable to open display ''
myusername@pcB:~$ DISPLAY=:0.0 xwininfo
No protocol specified
xwininfo: unable to open display ':0.0'
myusername@pcB:~$ DISPLAY=:0 xwininfo
No protocol specified
xwininfo: unable to open display ':0'
DISPLAY=:0.0 sudo xwininfo ... - 也就是说,先设置DISPLAY=:0.0环境变量,然后再执行sudo命令,最后才是相应的X命令。myusername@pcB:~$ DISPLAY=:0 sudo xwininfo
xwininfo: Please select the window about which you
would like information by clicking the
mouse in that window.
myusername@pcB:~$ DISPLAY=:0.0 sudo xwininfo -root
xwininfo: Window id: 0x109 (the root window) (has no name)
Absolute upper-left X: 0
Absolute upper-left Y: 0
Relative upper-left X: 0
Relative upper-left Y: 0
Width: 1366
Height: 768
Depth: 24
Visual: 0x21
Visual Class: TrueColor
Border width: 0
Class: InputOutput
Colormap: 0x20 (installed)
Bit Gravity State: ForgetGravity
Window Gravity State: NorthWestGravity
Backing Store State: NotUseful
Save Under State: no
Map State: IsViewable
Override Redirect State: no
Corners: +0+0 -0+0 -0-0 +0-0
-geometry 1366x768+0+0
xwininfo可以探测状态,通过xwd也可以轻松地捕获屏幕截图,没有任何问题。myusername@pcB:~$ DISPLAY=:0.0 sudo xwd -root > /tmp/shot.xwd
sddm-greeter --test-mode --theme /usr/share/sddm/themes/lubuntu
我修改了@Niroshan、@Parto和@sdaau给出的答案,使其适用于像19.04(Disco Dingo)和20.04(Focal Fossa)这样的最新版本的Ubuntu。如下所示,这是一个非常简单的过程。
首先,您需要安装imagemagick软件包,其中包含在脚本中使用的所有程序来进行截图。
sudo apt install imagemagick
#!/usr/bin/env bash
chvt 1
sleep 10
DISPLAY=:0.0 \
XAUTHORITY=/run/user/125/gdm/Xauthority \
import -window root gdm_shot.png
$DISPLAY变量设置为gdm3使用的显示器号码,并将$XAUTHORITY变量设置为gdm3用于访问其X服务器的文件。与之前的答案有些不同,因为gdm3更改了显示器号码和存储其Xauthority文件的位置,这个问题有点棘手。chmod +x gdm_screenshot.sh)之后,您需要退出当前的gnome会话,并进入任何可用的控制台(tty),例如按下Ctrl+Alt+F2。然后,您需要登陆并以root的身份运行脚本,使用sudo ./gdm_screenshot.sh。
scrot -d 5 -e 'mv $f /root' &
在"exit 0"这一行之前。