在Lubuntu中,你可以做任何你想做的事情:通过命令行使用以下命令来截取屏幕截图:
scrot_extended 100 100 400 400
使用下面的脚本。
四个参数是 <x>, <y>, <width>, <height>。
我还没有在 Lubuntu 12.04 中测试过它,但似乎不太可能不起作用;它使用的是 python 2 和基本的命令行工具,这些工具已经存在很长时间了。
解释
这个脚本:
- 使用
scrot 进行截屏
- 将截屏保存到临时文件中
- 使用
imagemagick 创建一个新的图像,根据你运行脚本时的参数进行裁剪
- 将图像以编号的文件形式保存到目录中,以防止覆盖
如何使用
脚本同时使用了scrot和imagemagick。确保你的系统上已经安装了scrot。要安装imagemagick,请执行以下命令:
sudo apt-get install imagemagick
将脚本复制到一个空文件中。
默认情况下,图像会保存在~/scrot_images目录下,并以outputfile_1.png、outputfile_2.png等命名。如果需要更改保存路径,请按照脚本中的标记进行修改。注意,如果更改了目录,必须使用完整路径。
将文件保存到~/bin目录中(如果需要,创建该目录),并将其命名为scrot_extended(无扩展名),然后赋予可执行权限。
退出当前账户并重新登录,然后使用以下命令进行截屏:
scrot_extended <x> <y> <width> <height>
例子:
scrot_extended 100 100 400 400
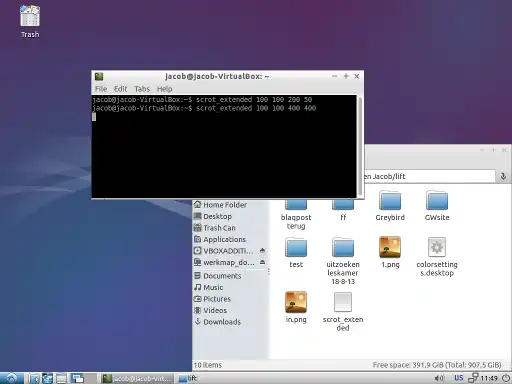
输出文件:
剧本
import subprocess
import os
import sys
home = os.environ["HOME"]
temp = home+"/"+".scrot_images"
img_in = temp+"/in.png"
output_directory = home+"/"+"scrot_images"
filename = "outputfile"
for dr in [temp, output_directory]:
if not os.path.exists(dr):
os.mkdir(dr)
n = 1
while True:
img_out = output_directory+"/"+filename+"_"+str(n)+".png"
if os.path.exists(img_out):
n = n+1
else:
break
coords = sys.argv[1:5]
cmd1 = ["scrot", img_in]
cmd2 = ["convert", img_in, "-crop", coords[2]+"x"+coords[3]+"+"+coords[0]+"+"+coords[1], "+repage", img_out]
for cmd in [cmd1, cmd2]:
subprocess.call(cmd)
shutter的--exit_after_capture选项吗?此外,许多图形界面程序在命令行运行时会生成这样的警告。真的没什么好担心的。 - muru