使用内置的OEM安装功能!
在他人的计算机上安装Ubuntu非常简单,这样您就可以根据他们的需求进行自定义设置,但他们仍然可以执行最后的基本设置(用户名、密码、语言等)。
第一阶段:预安装
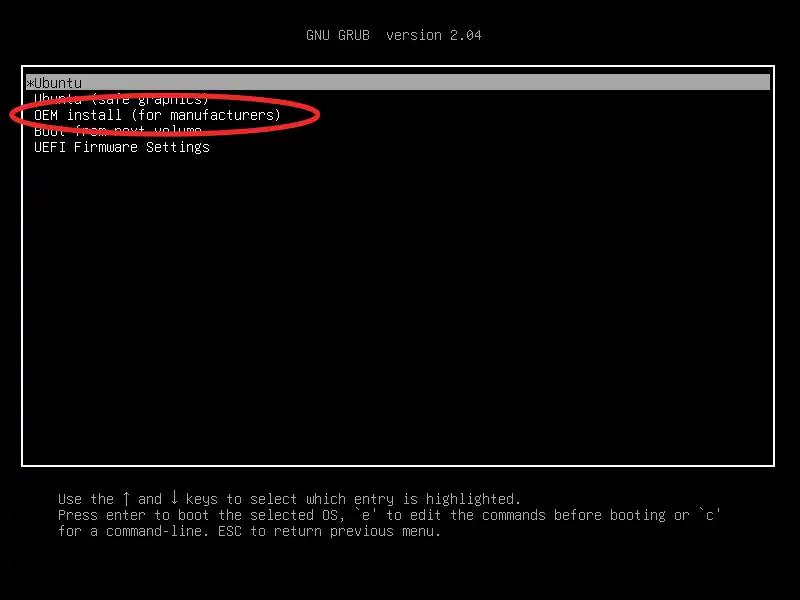
1(适用于Ubuntu 20.04 UEFI,已更新)。
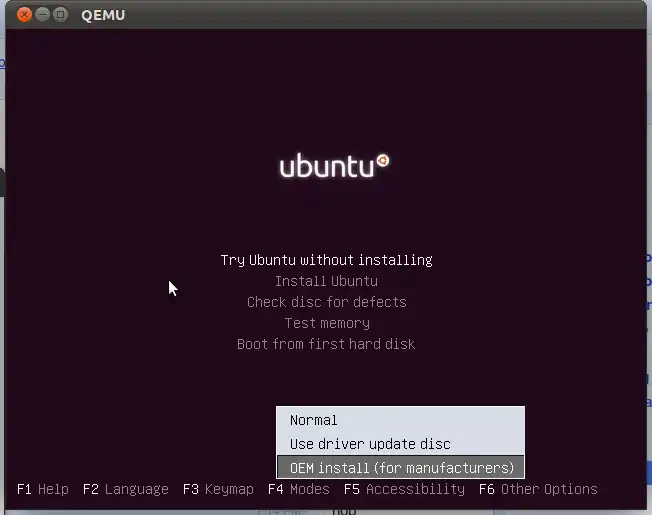
确保从UEFI模式下的安装USB启动。您将看到下面的屏幕。如果您没有看到这个grub菜单,则表示您没有从USB以UEFI模式启动。
如下所示选择“OEM安装(供制造商使用)”:
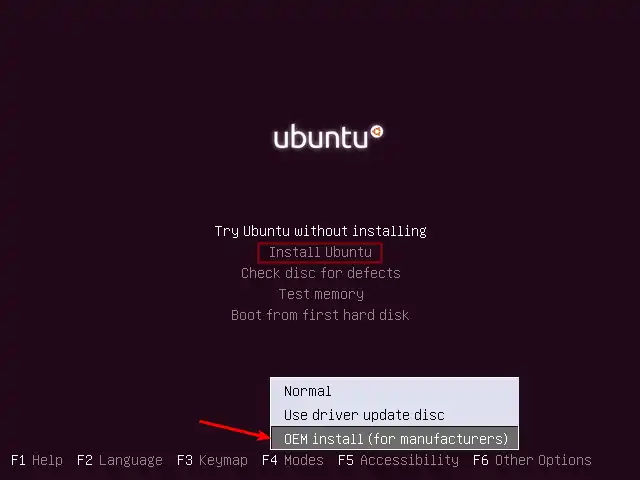
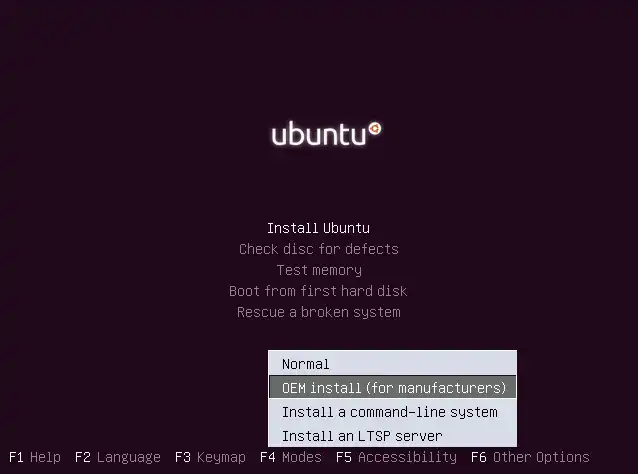
(适用于BIOS / Legacy / CSM安装(在Ubuntu 20.04中未经测试))按任意键中断LiveCD / LiveUSB自动引导;然后按
F4并选择
OEM安装,然后选择“安装Ubuntu”。
其他的流程基本上和下面的一样。
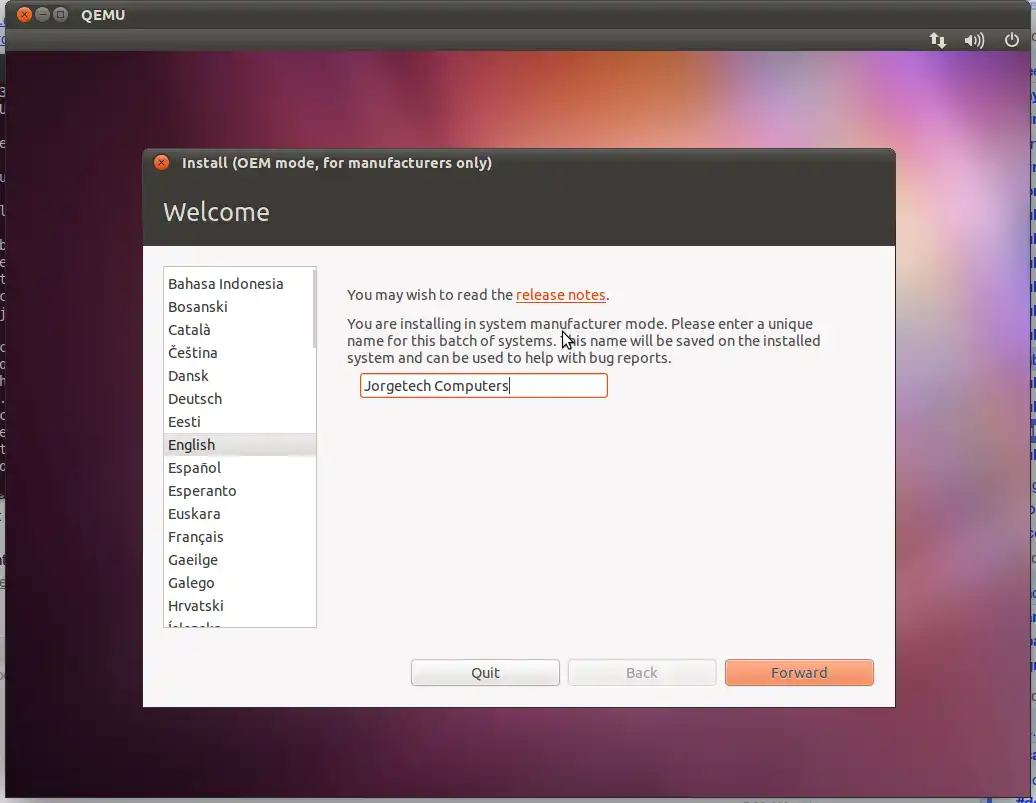
- 输入一个“公司名称”(它只会在错误报告等中使用)
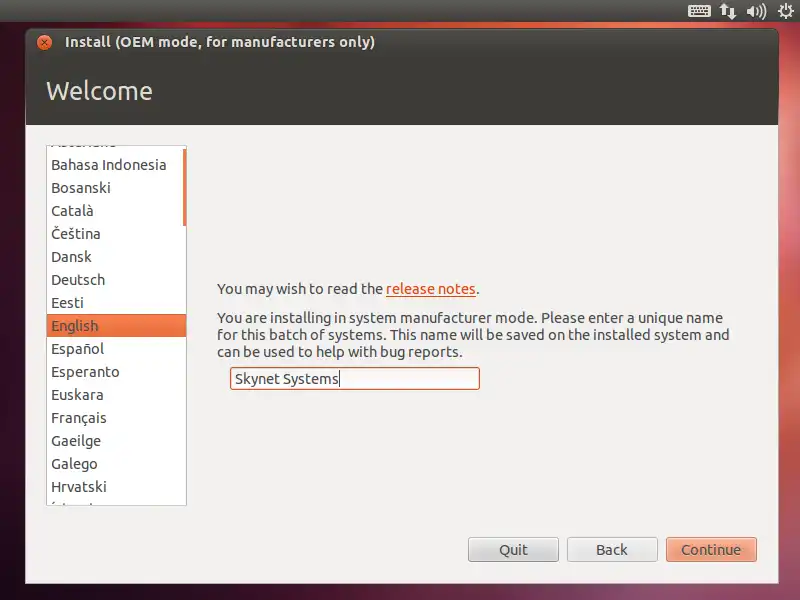
继续安装...

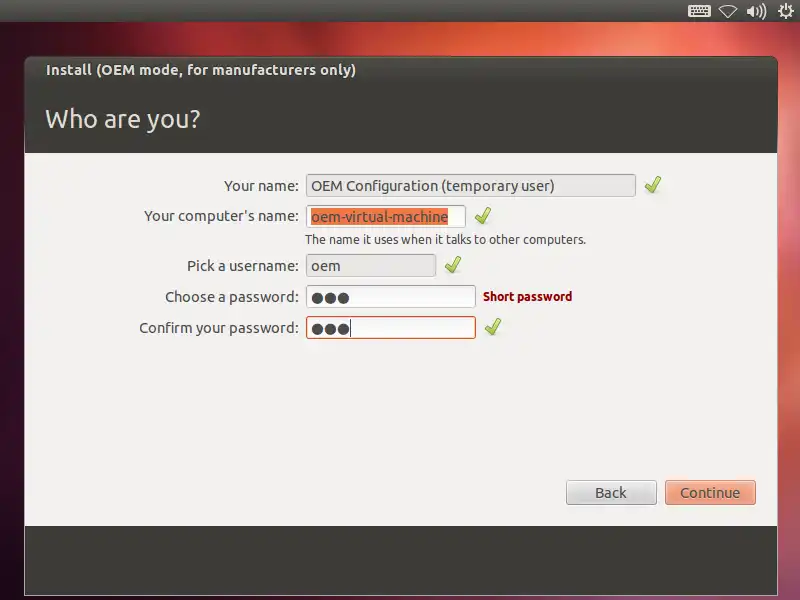
在
定制阶段中,输入一个临时用户名、密码和机器名称。
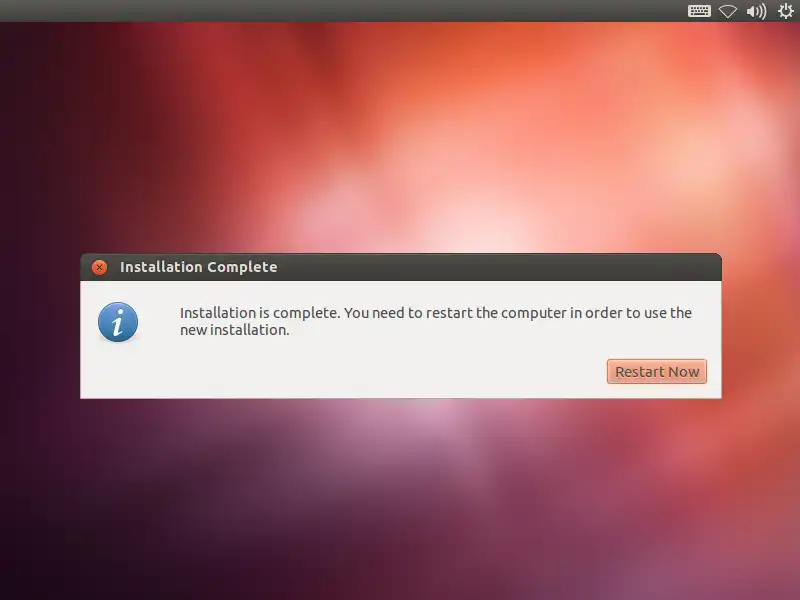
重新启动
### 第二阶段. 定制
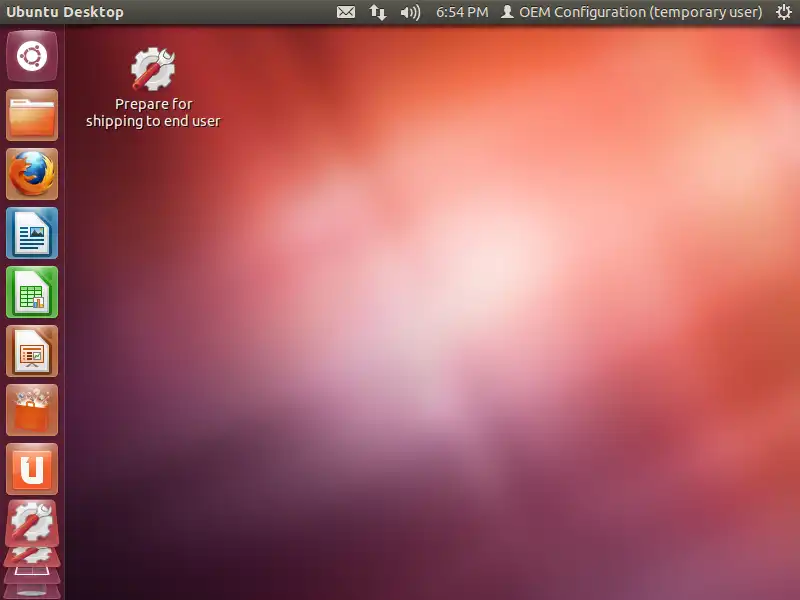
- 您现在进入了定制阶段:
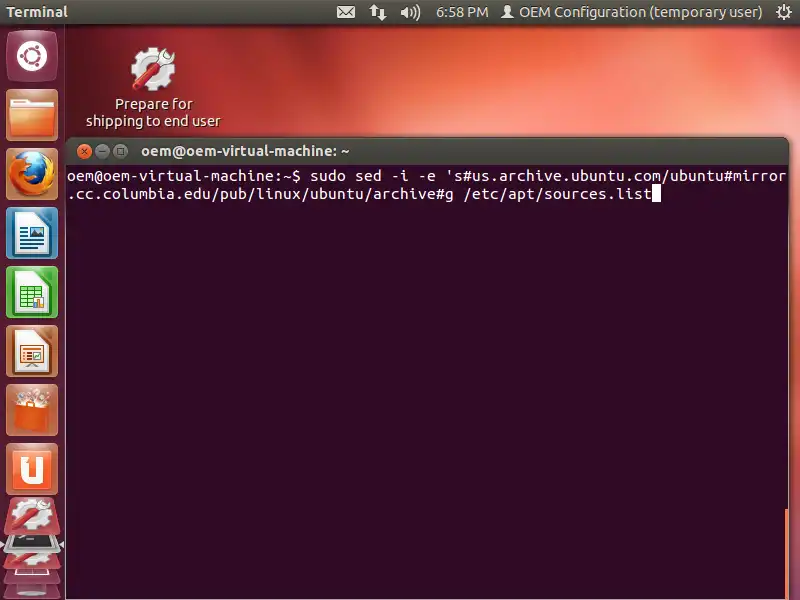
7.
进行定制:升级、更新、安装软件、卸载软件、更换壁纸等。在下面的示例中,我们只是使用终端将Ubuntu的更新镜像更改为离纽约市更近的一个。
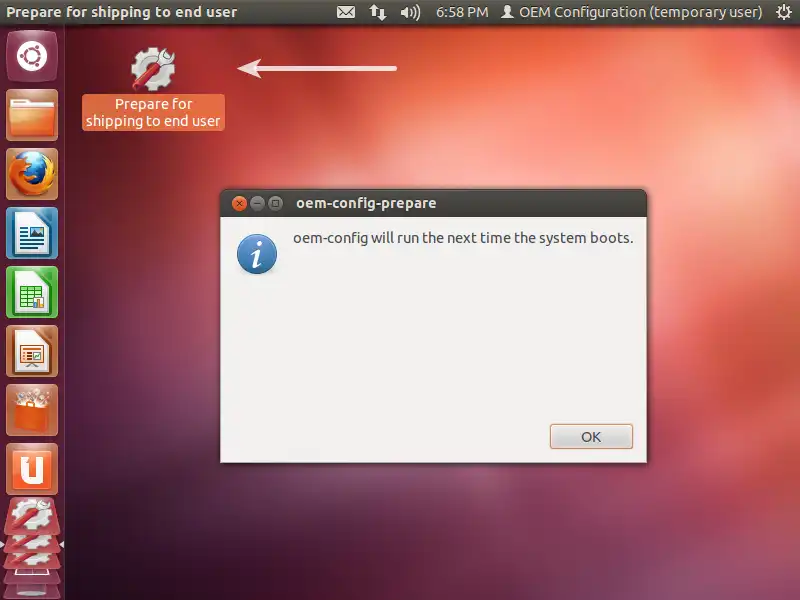
完成后,请关闭所有窗口,然后在桌面上双击“准备发货给最终用户”的图标,会显示以下信息:
###第三阶段。最终用户配置/“安装”
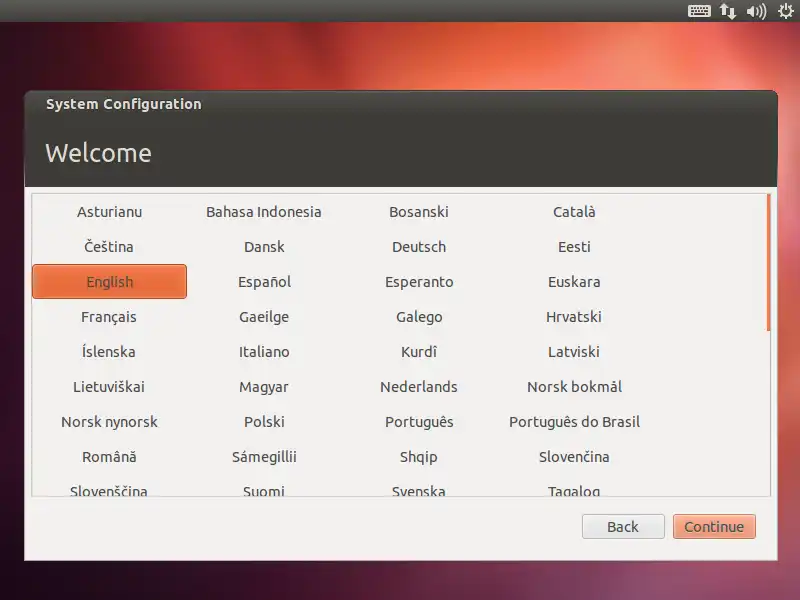
- 当接收者首次启动计算机时,他/她将需要选择一种语言:
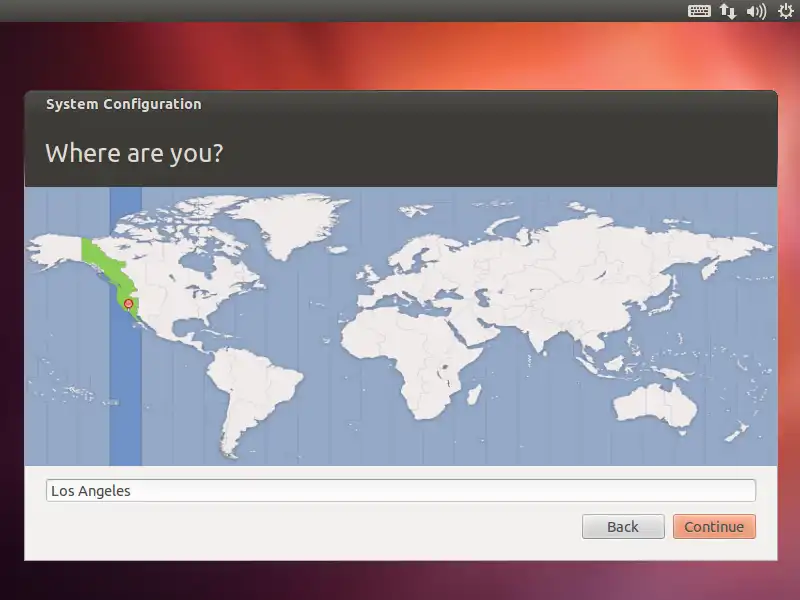
...和他们的位置/时区...
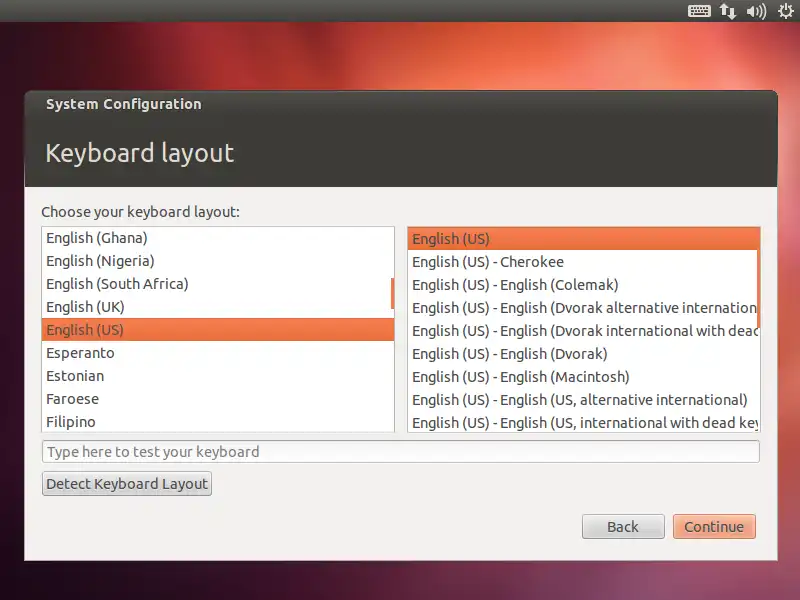
...和键盘布局...
然后,他们选择用户名、密码、机器名称以及是否加密他们的主目录。

Ubuntu需要几秒钟来执行这些最后的自定义操作...
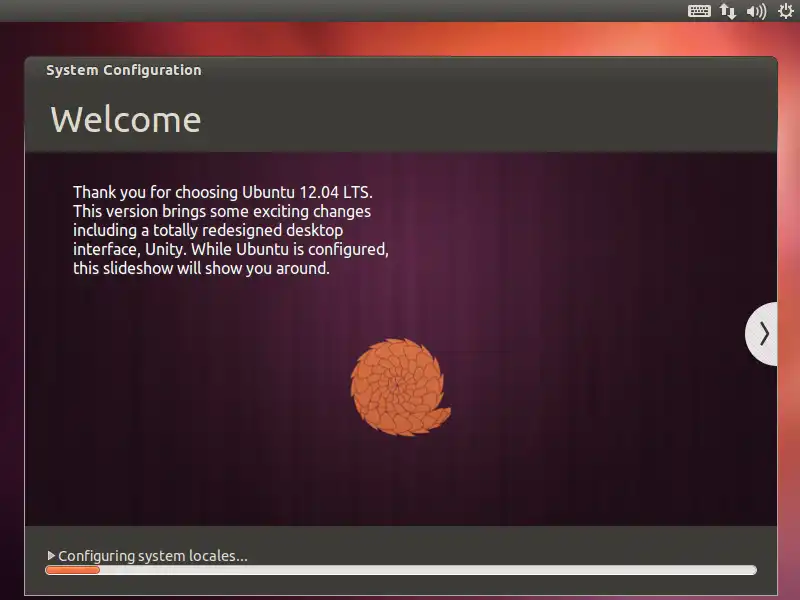
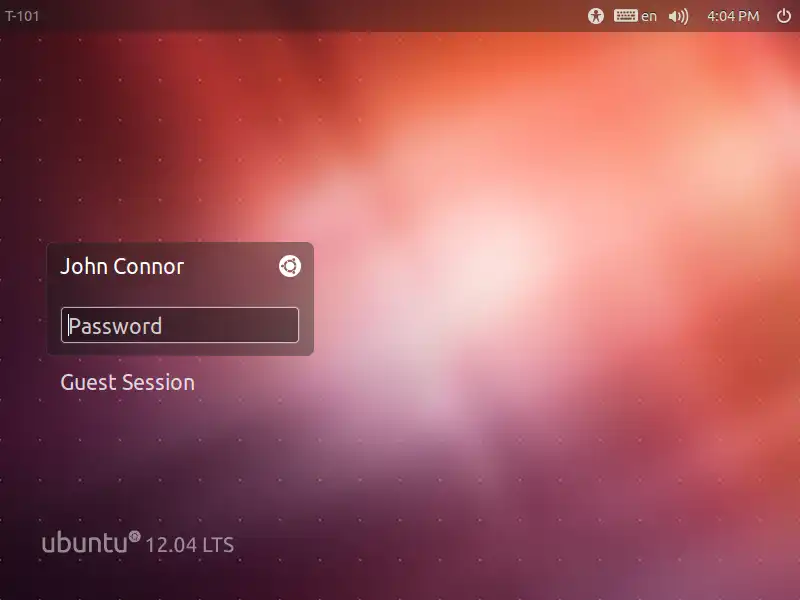
...并直接将用户带到他们的新登录界面!

sudo apt-get install oem-config,然后运行oem-config-prepare。 - user149408